Every dirt bike has certain parts that get worn down and need to be replaced, such as the tires and brake pads. Depending on how you ride and how hard you are on your brakes your dirt bike brake pads should last for quite some time. It's easy to check to see if you need new pads, all you have to do is refer to your owner's manual and find out what the wear limit is and then measure your brake pads to make sure they are within operating specs.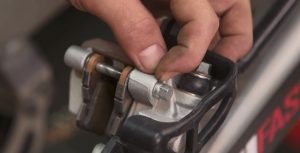
If you find that your brake pads are in need of replacement don't fret it's a really easy process to remove and install new pads. When changing out the brake pads on your dirt bike it's a good idea to inspect and measure the thickness of your brake rotors as well to make sure they aren't damaged or warped. The nice thing about replacing brake pads is that most times you don't need to open the master cylinder or drain any brake fluid; you can simply pry the pads/pistons in the calipers apart with a screw driver in order to create enough room to slip the new pads in. This makes for a very clean and straight forward installation.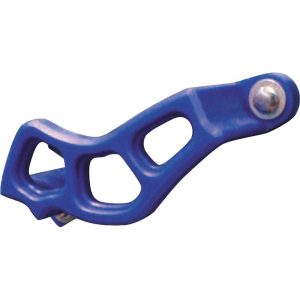
A couple things to think about when performing a brake job on your dirt bike is, while you are there you may want to add some protection in the form of a rear brake caliper guard like the one that T.M. Designworks offers. Or if you need to replace the front brake pads you might as well upgrade your setup with a Galfer Oversize Rotor Kit and reap the benefits of cooler and more powerful braking. In the video below Michael Lindsay from Vital MX shows you how to replace the rear brake pads on a dirt bike. It's a quick job that requires minimal tools.