When it comes to racing dirt bikes, riders and their mechanics will spend countless hours and hundreds or maybe even thousands of dollars to get their bikes performing at their absolute best. If you have the money and skills toil away on your bike forever that's great, but sometimes there are simple solutions that can make a difference to help give you an advantage over the competition without blowing your total racing budget.
Dr. D aka Doug Dubach of Dubach Racing has turned his years of racing experience and extensive knowledge of tuning and dialing in dirt bikes into a business that supplies riders with great quality products that can help improve handling and overall rider satisfaction. One of the keys to having a well-balanced bike that can smoothly shift its weight in and out of corners is a low center of gravity. Many people may not think about it but the aluminum radiator assembly and accompanying coolant can play a role in how a dirt bike handles. It may not be a significant amount of weight or liquid sloshing around but when it comes to racing every advantage matters no matter how small.
Back in the day, mechanics would spend hours cutting and welding the radiators in an effort to lower their mounting location and to improve handling. With this knowledge in mind, Dr. D created a radiator lowering kit that is available for a variety of Honda, Kawasaki, and Yamaha models. Even though the kit only drops the radiators by about an inch (27mm), that small amount helps give the bike a lighter feel at the top while making it easier to dig in and get better transitions in and out of corners. The Radiator Lowering Kit comes with all the necessary hardware is very quick and easy to install, it's also extremely inexpensive making it one of the top mods you can make to your bike for very little money. Follow along as we show you how to install the kit on a 2016 Yamaha YZ 450F.
1. What You Get

This is Dr. D Radiator Lowering Kit (p/n: DRD-3041, $$139.95) for the 2016 YZ450F. Included is the hardware and eight aluminum, CNC-machined, lowering links that have been anodized red. Take note that there are four thicker links and four thinner links.
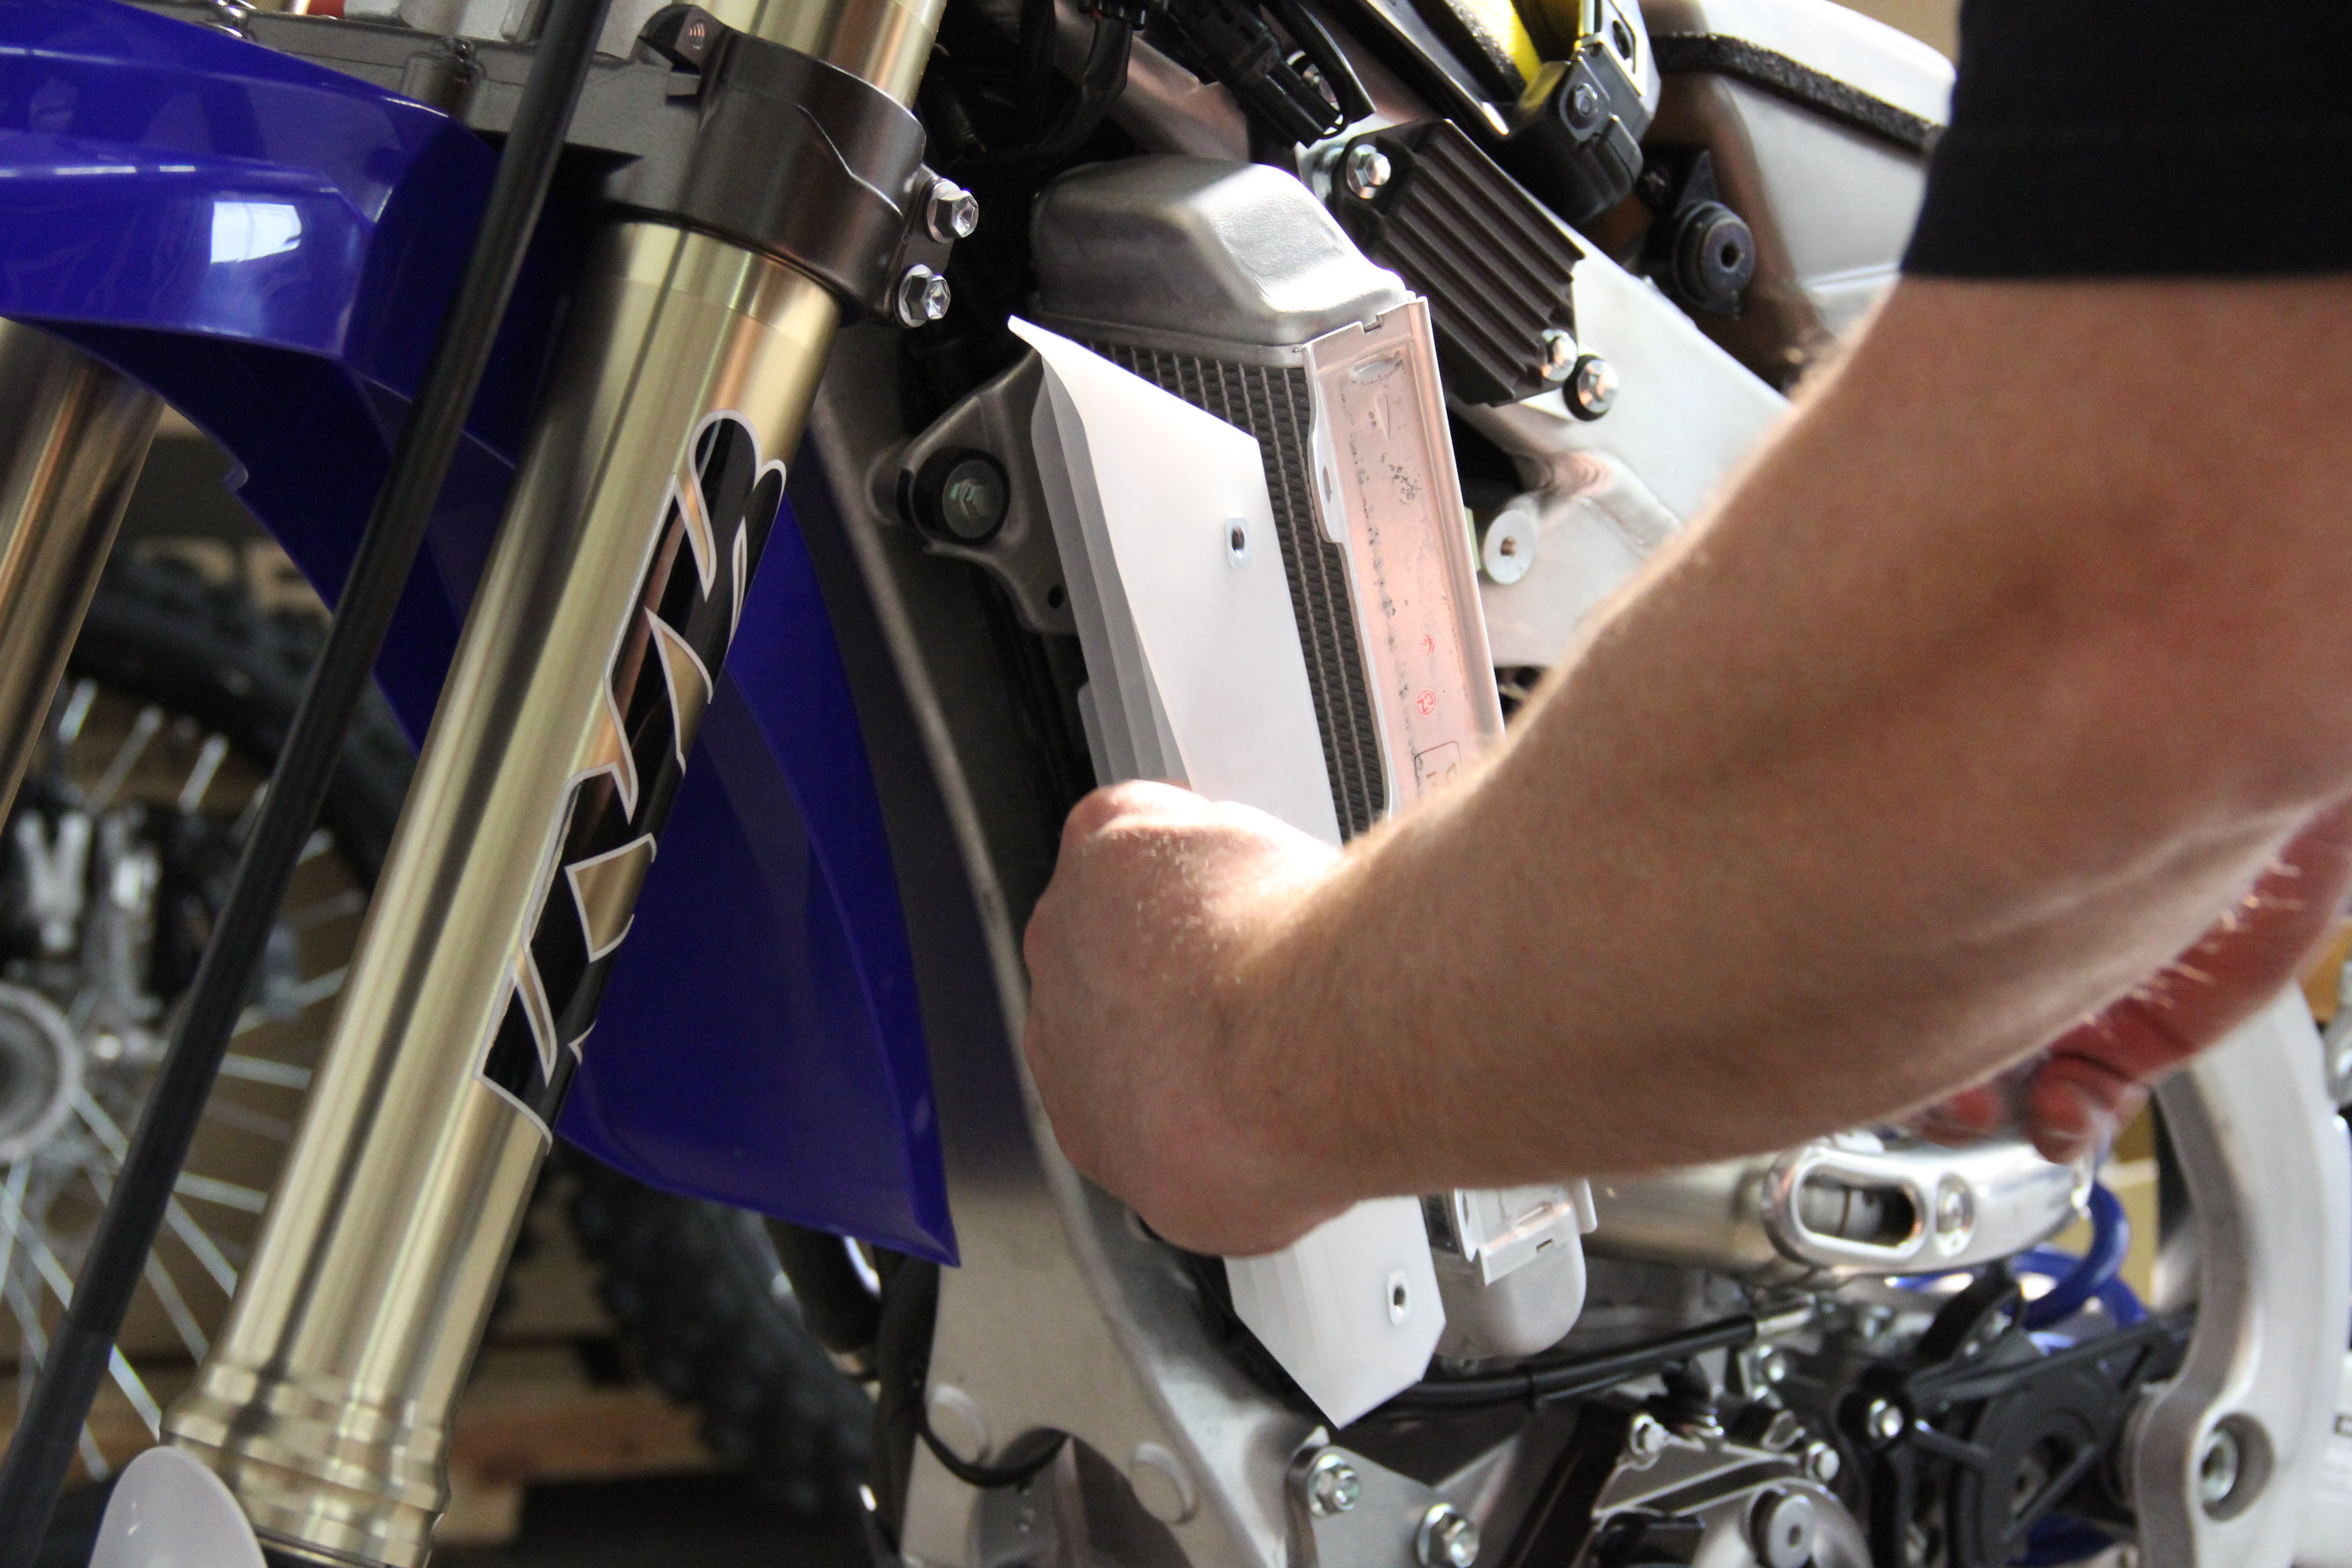
2. Uncover It
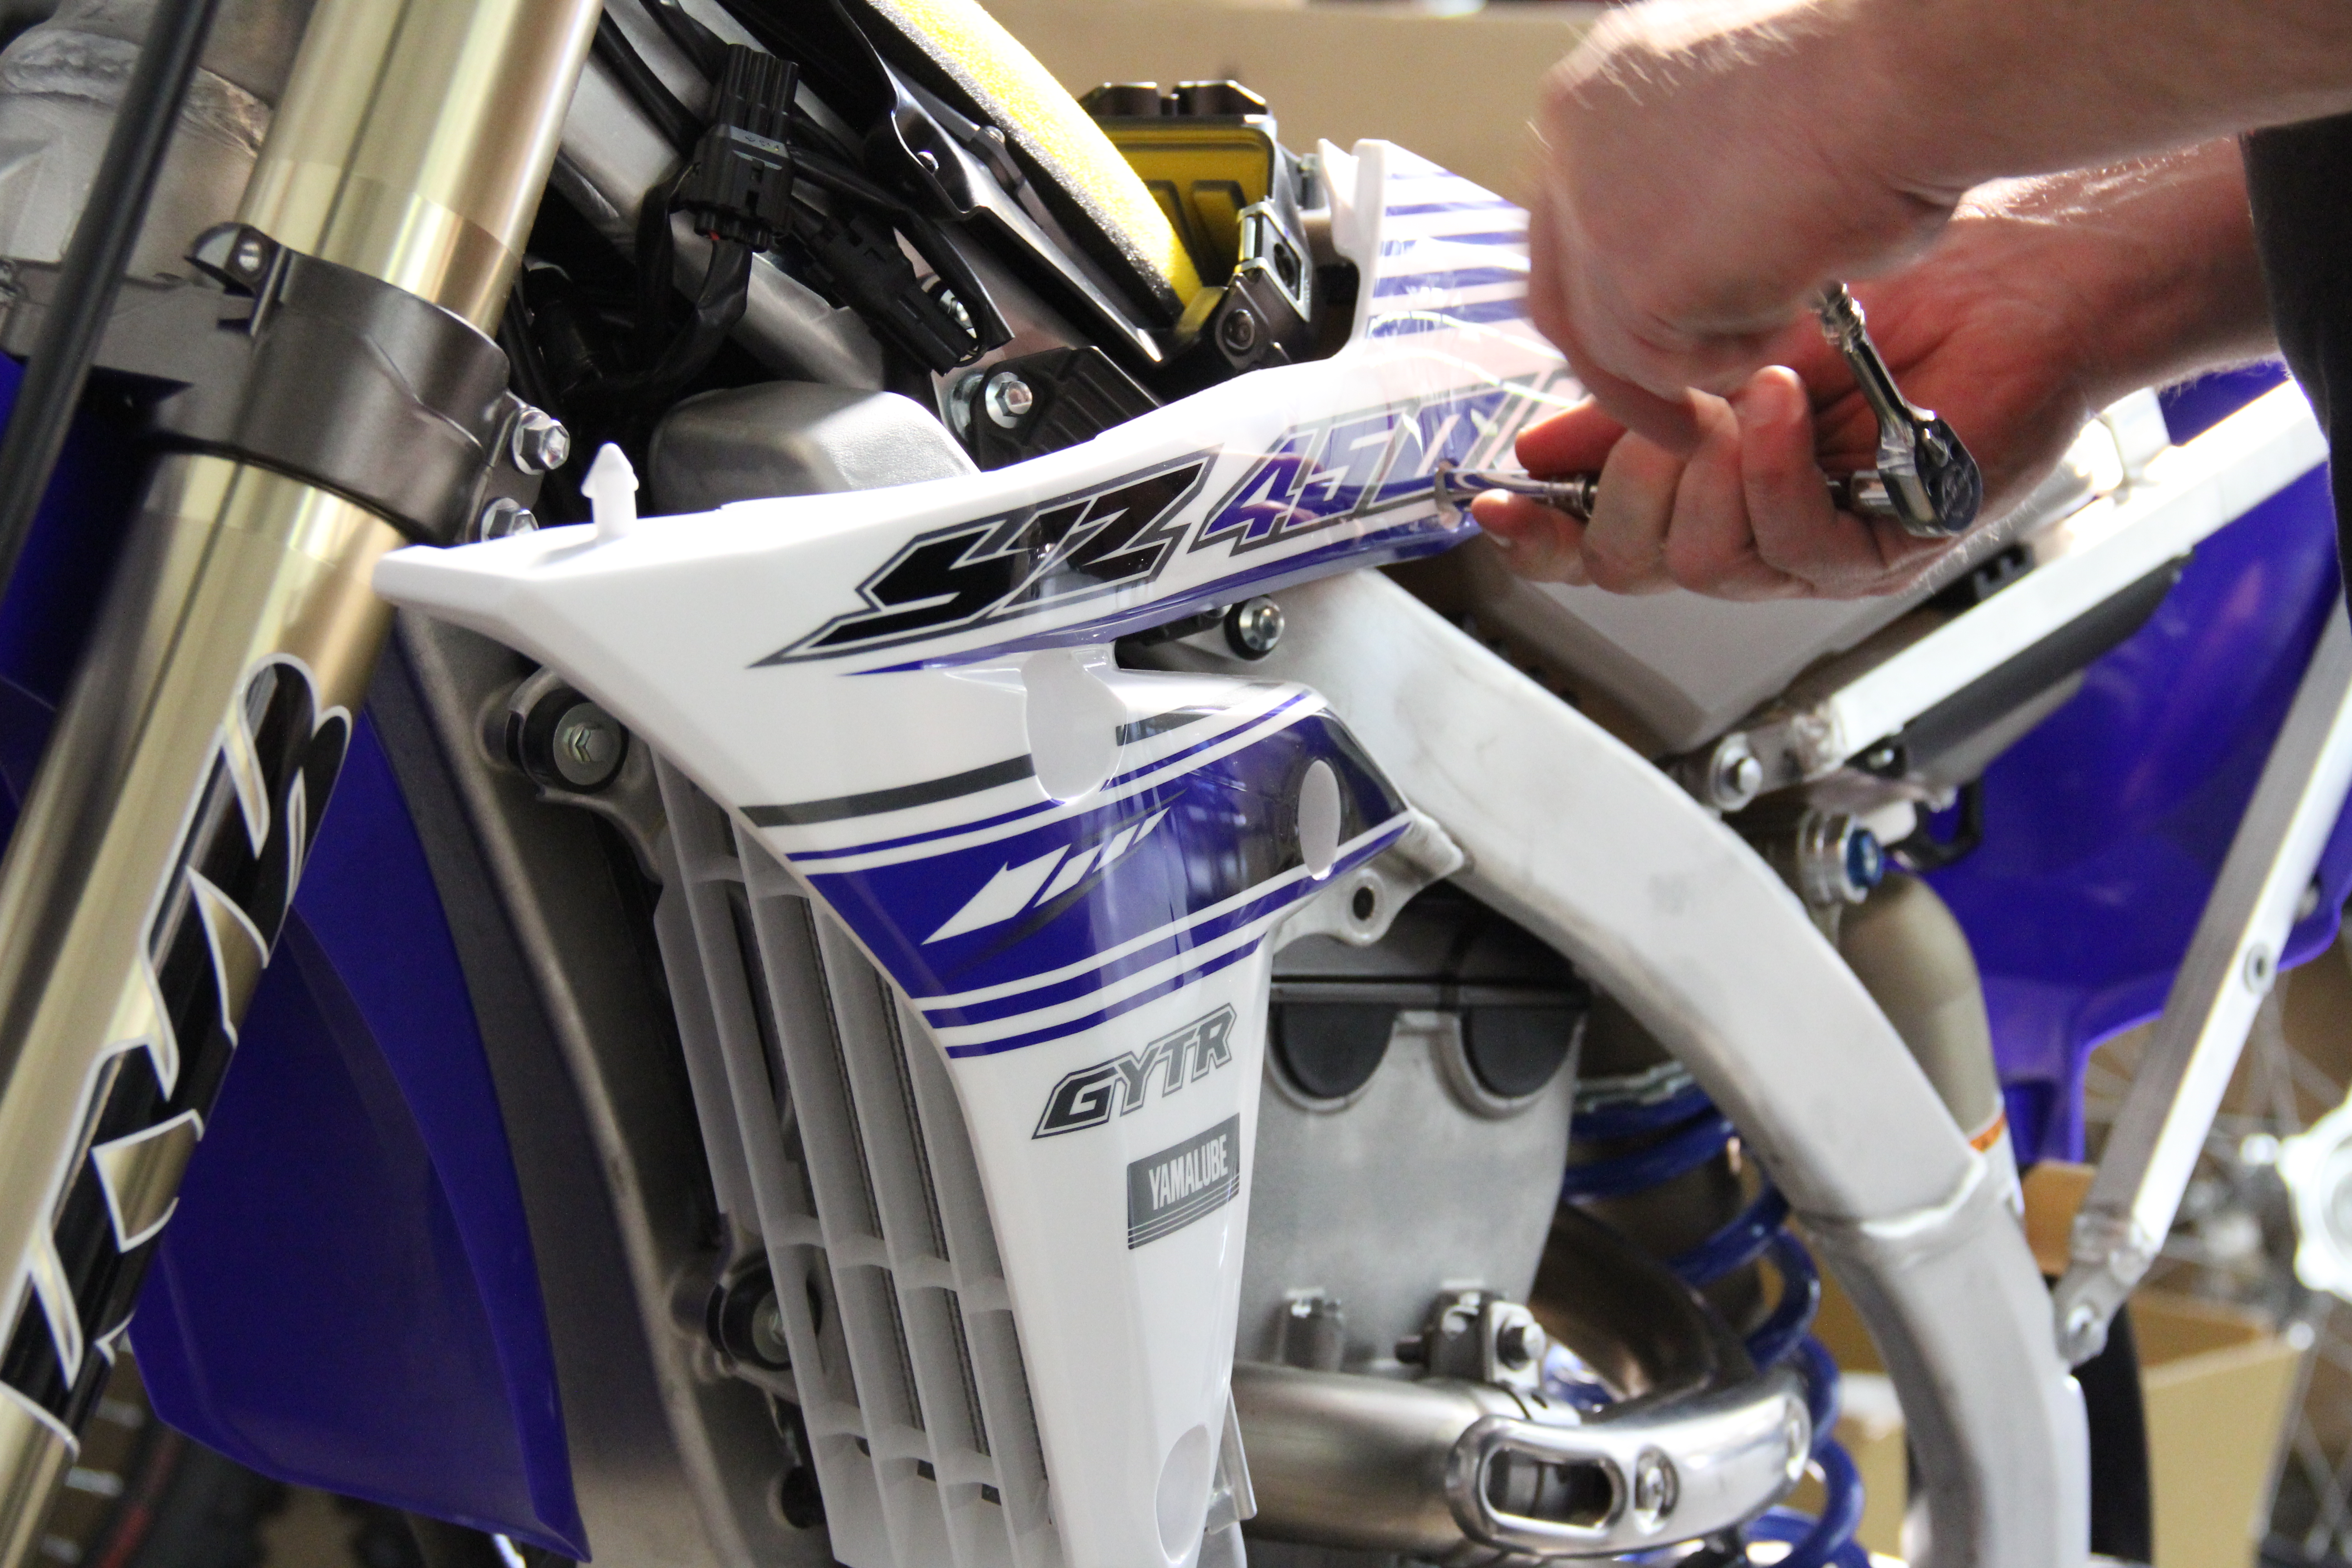
Start by removing the side covers/radiator shrouds on both sides of the bike.
3. Louver Remover
Next, remove the plastic radiator louvers.
4. Make It Rain
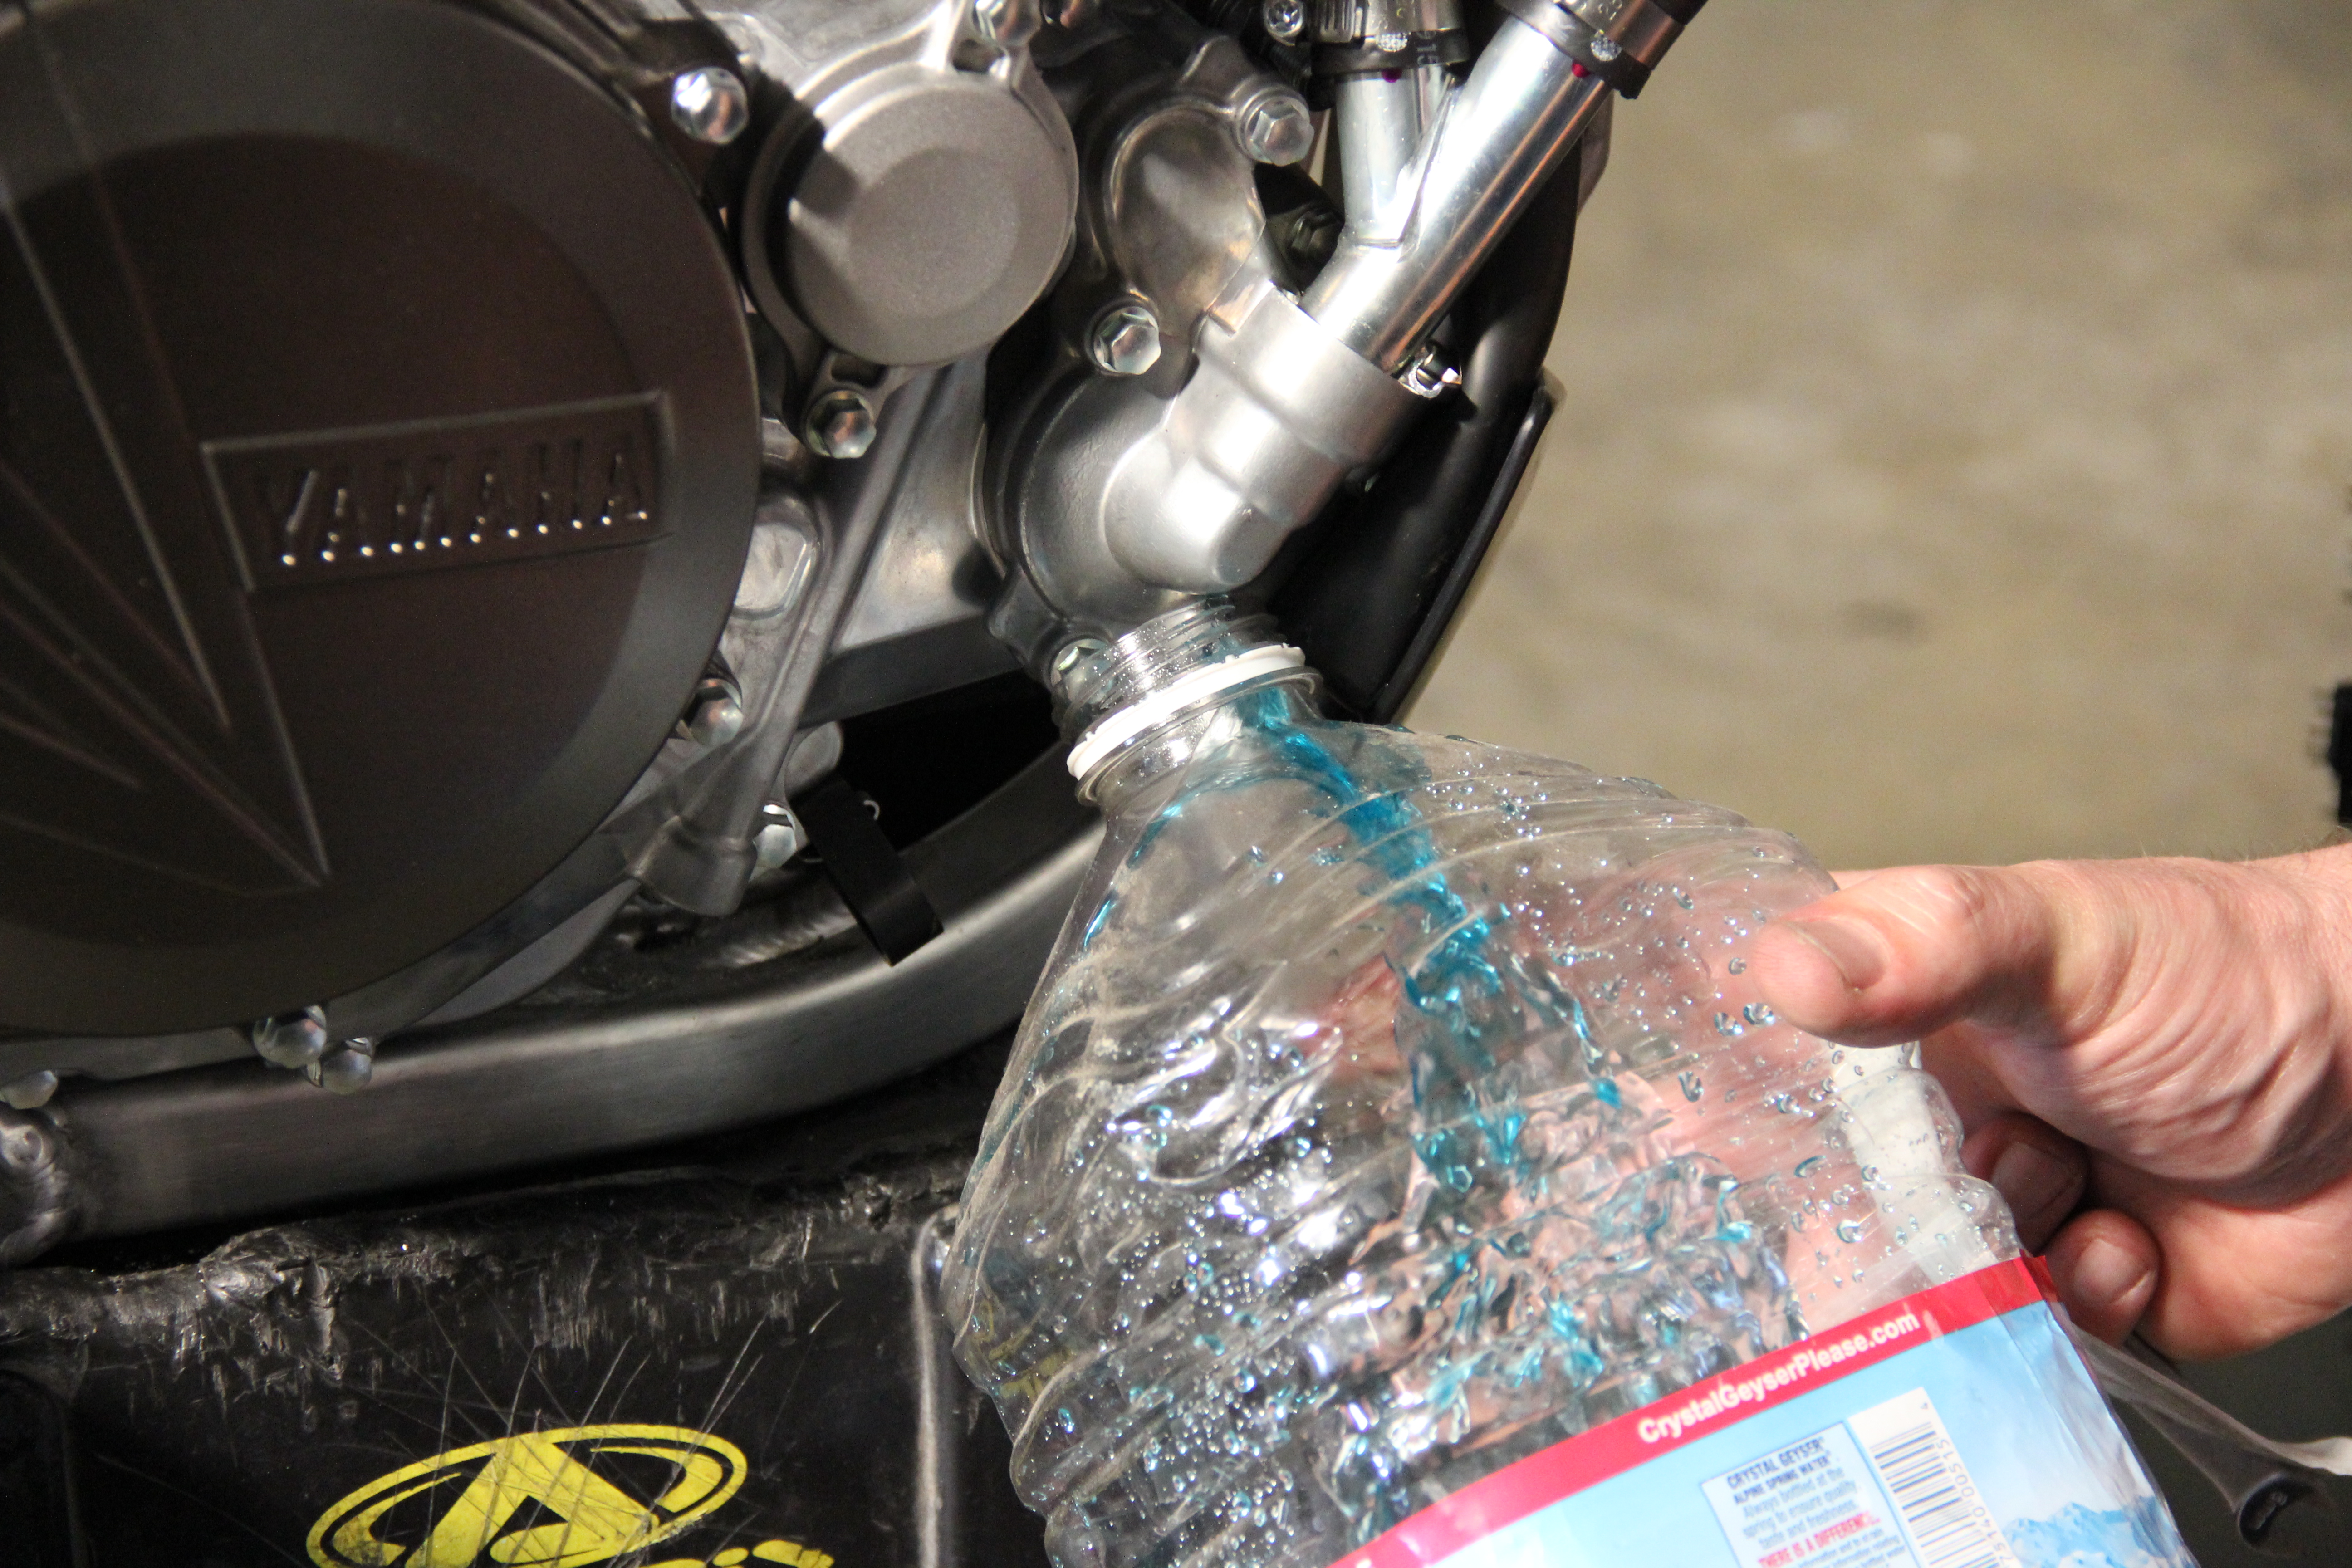
On the right side of the bike you are going to have to trim the radiator hose down a little bit, so grab a clean container and remove the radiator drain plug. After you have removed the drain plug take the radiator cap off to allow the fluid to drain more freely. Note: if your radiator coolant is still good you can reuse it, otherwise make sure you have some fresh coolant on hand to refill the radiators.
5. Get Loose
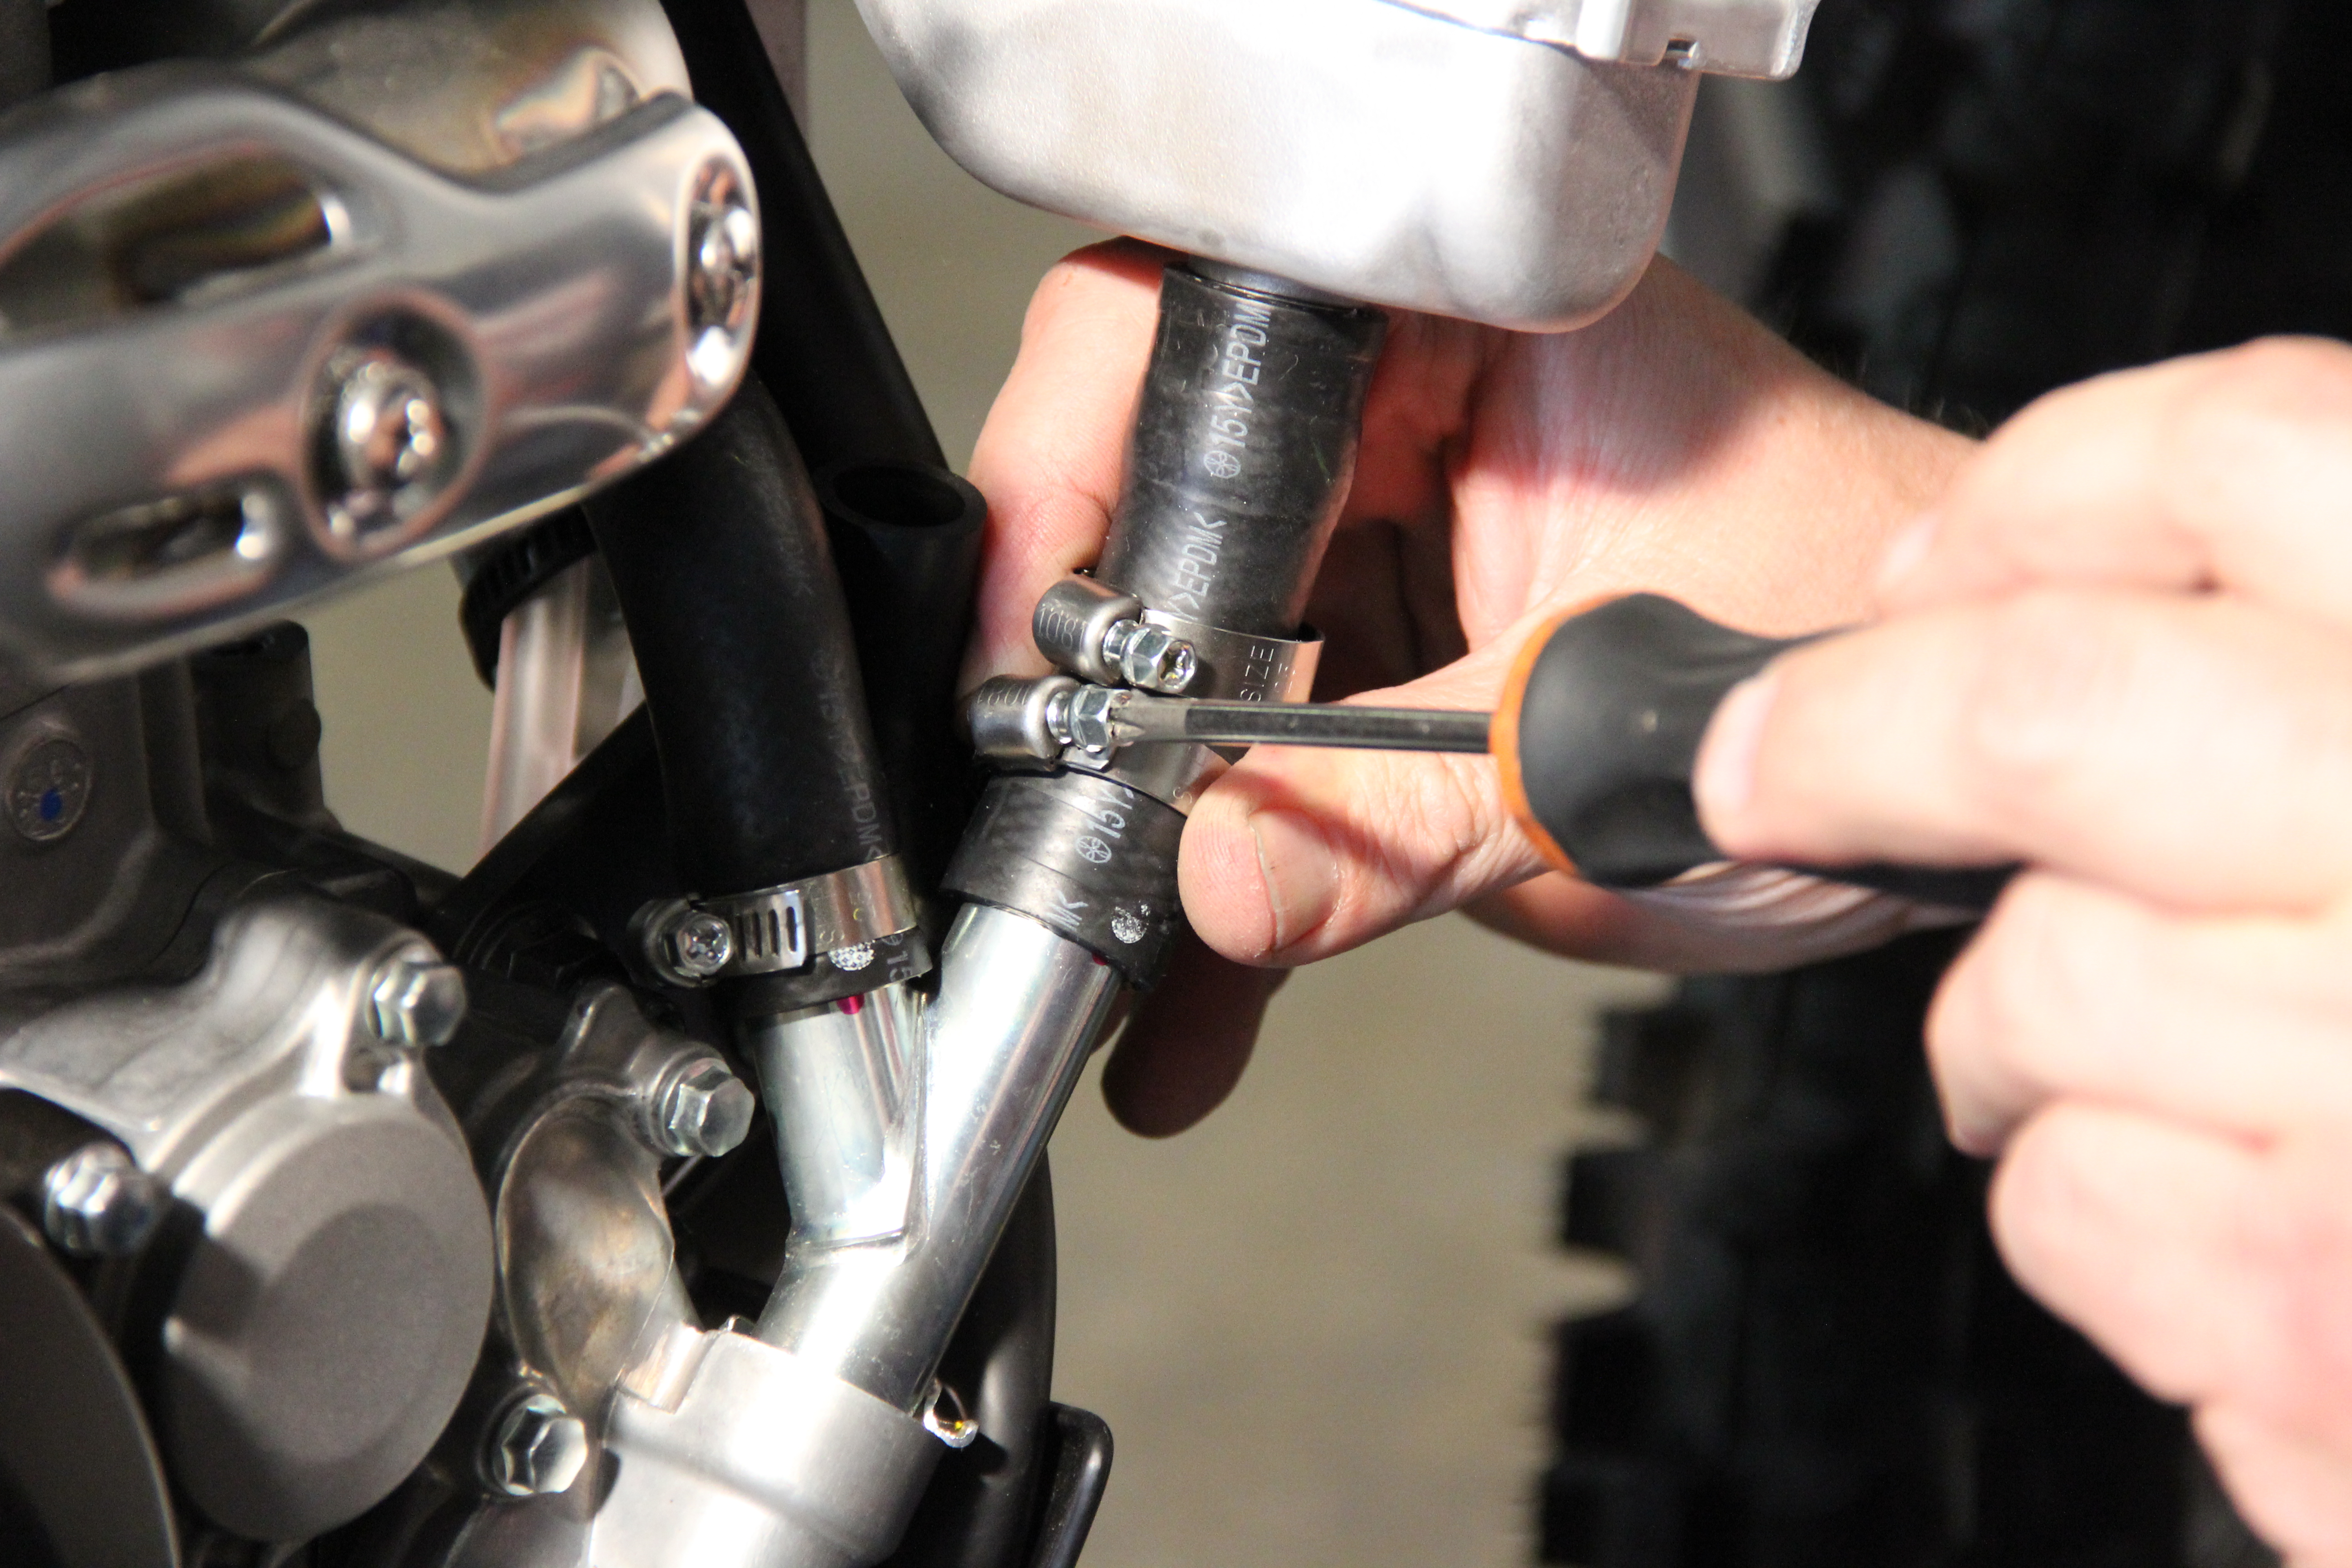
Once the fluid has drained, loosen the two hose clamps on the short piece of hose below the right side radiator.
6. Measure Twice Cut Once
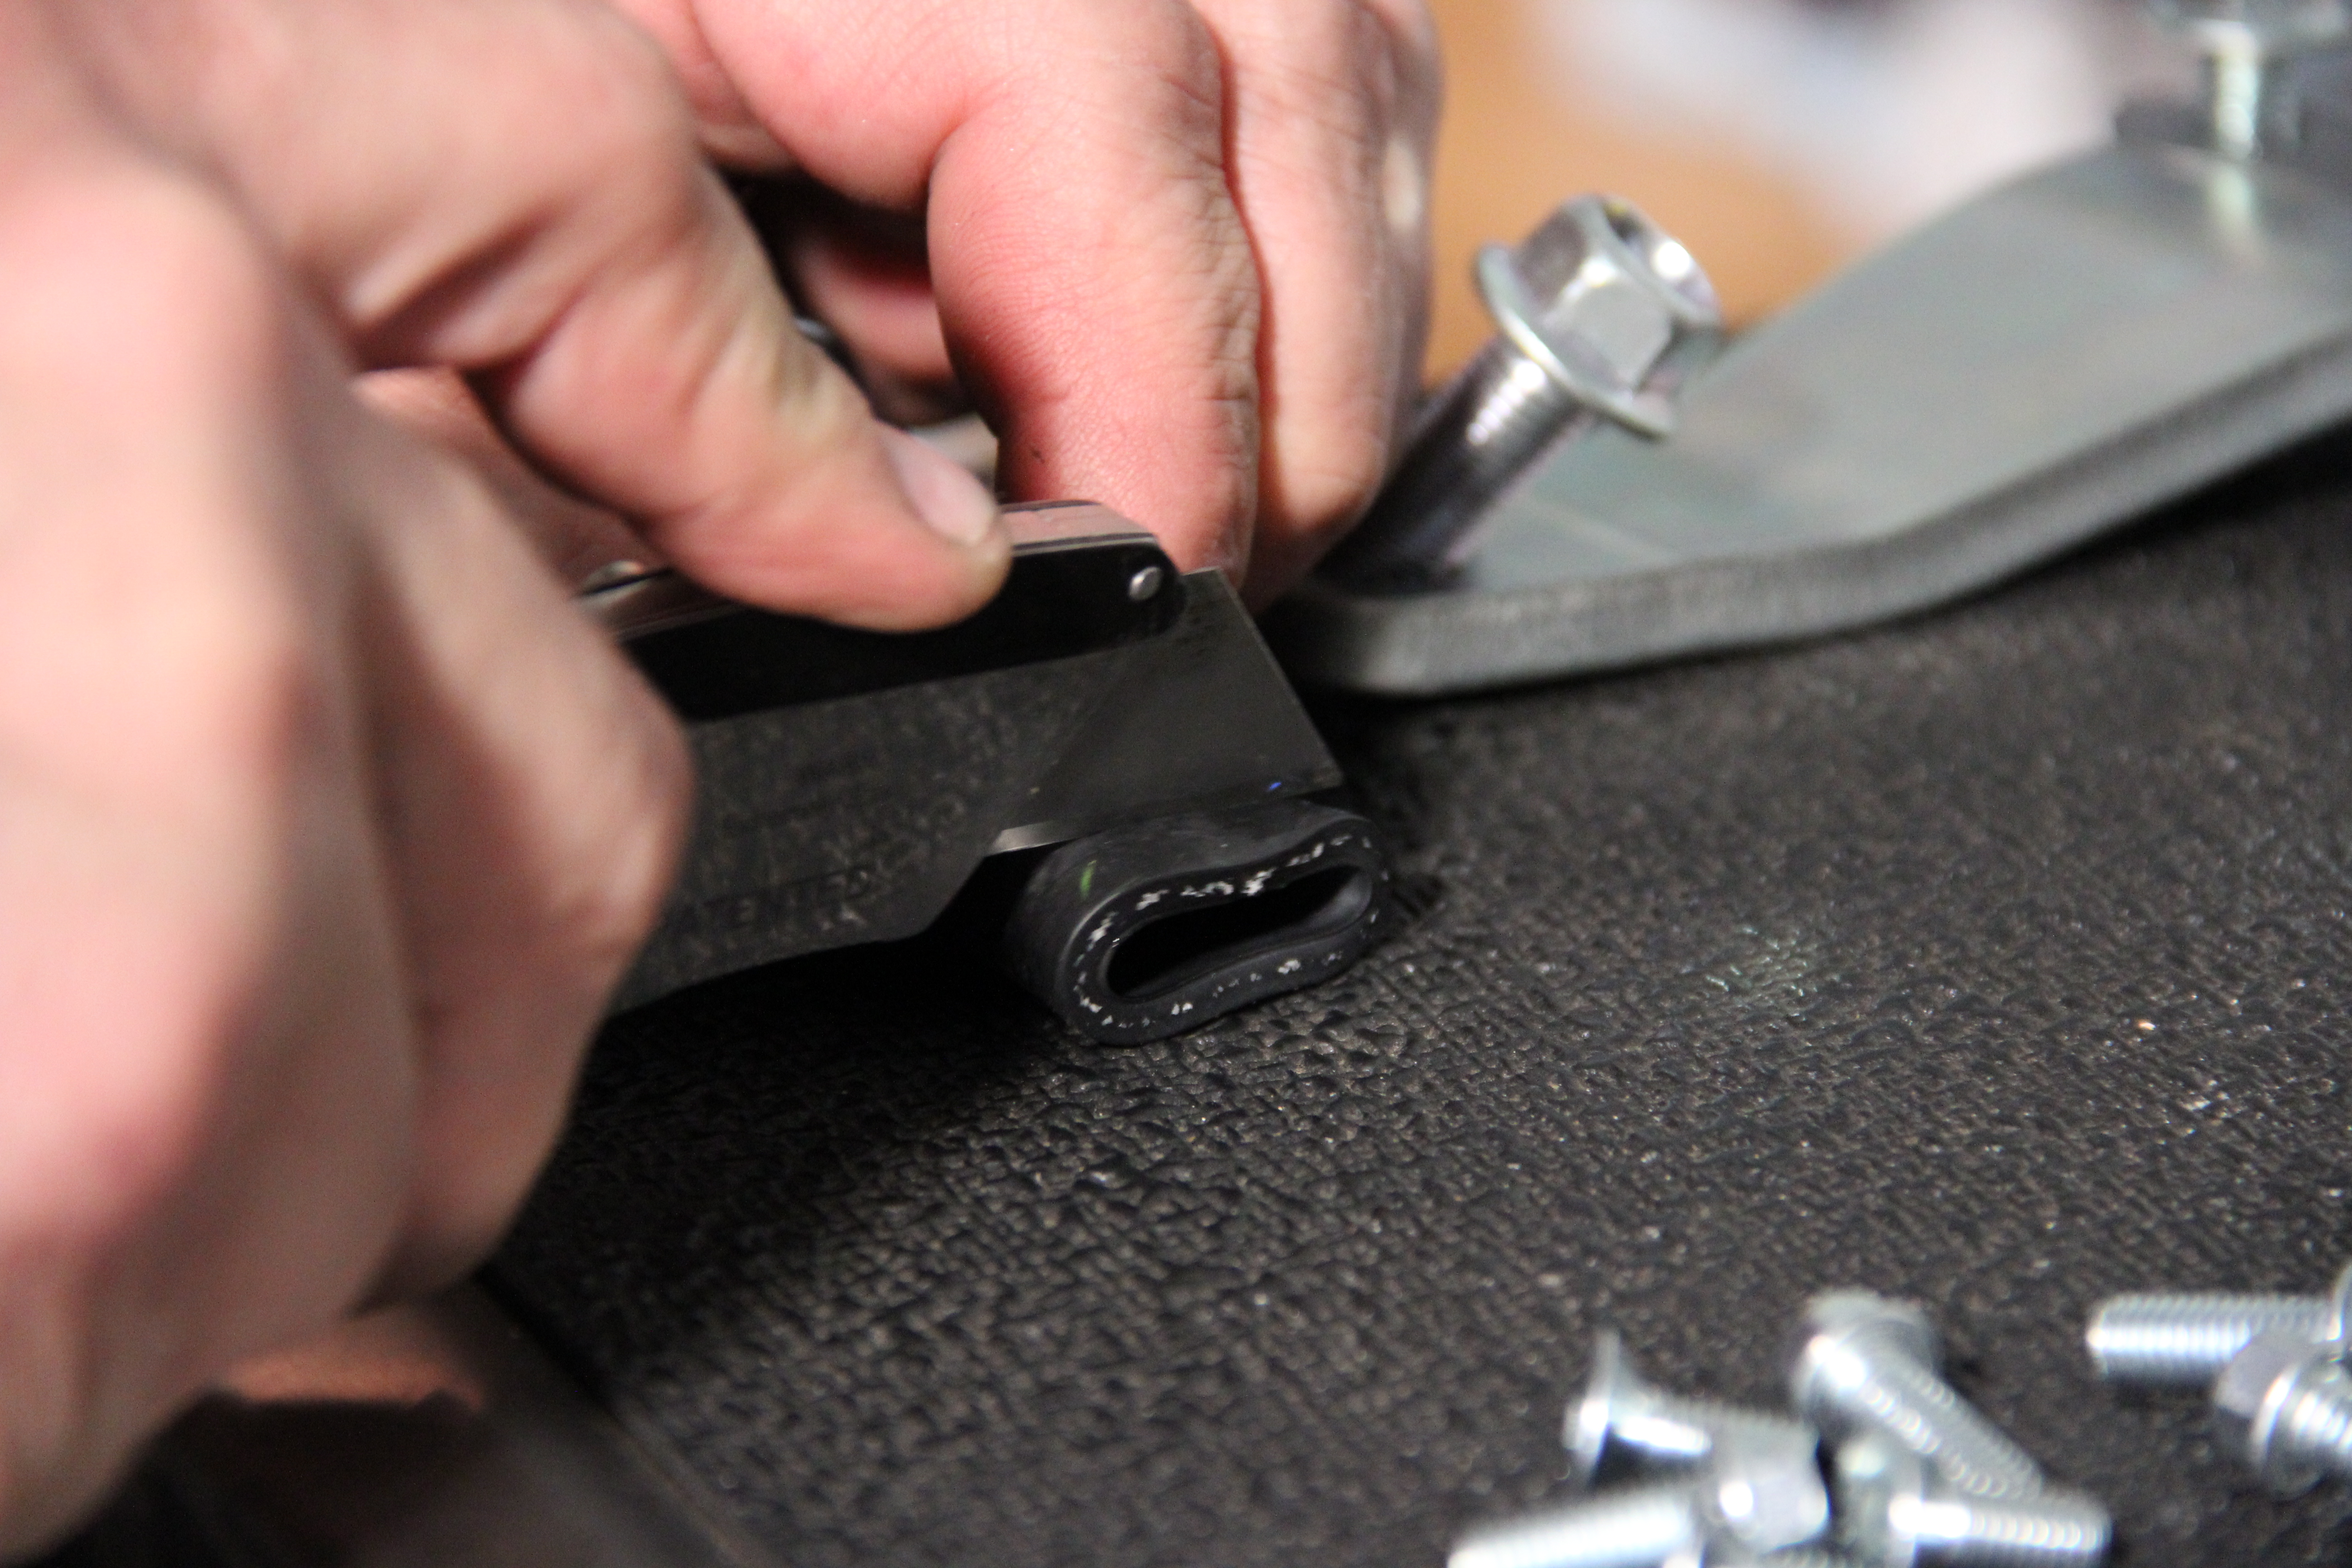
Next, remove the hose from in between the radiator and water pump. Place the hose on a hard surface and using a sharp utility knife or industrial scissors cut 3/8" off of one end of the hose.
7. Detour
On the left side of the bike you don't need to cut the radiator hose but you do need to remove the radiator end of the hose and reroute it so it runs under the clutch cable.
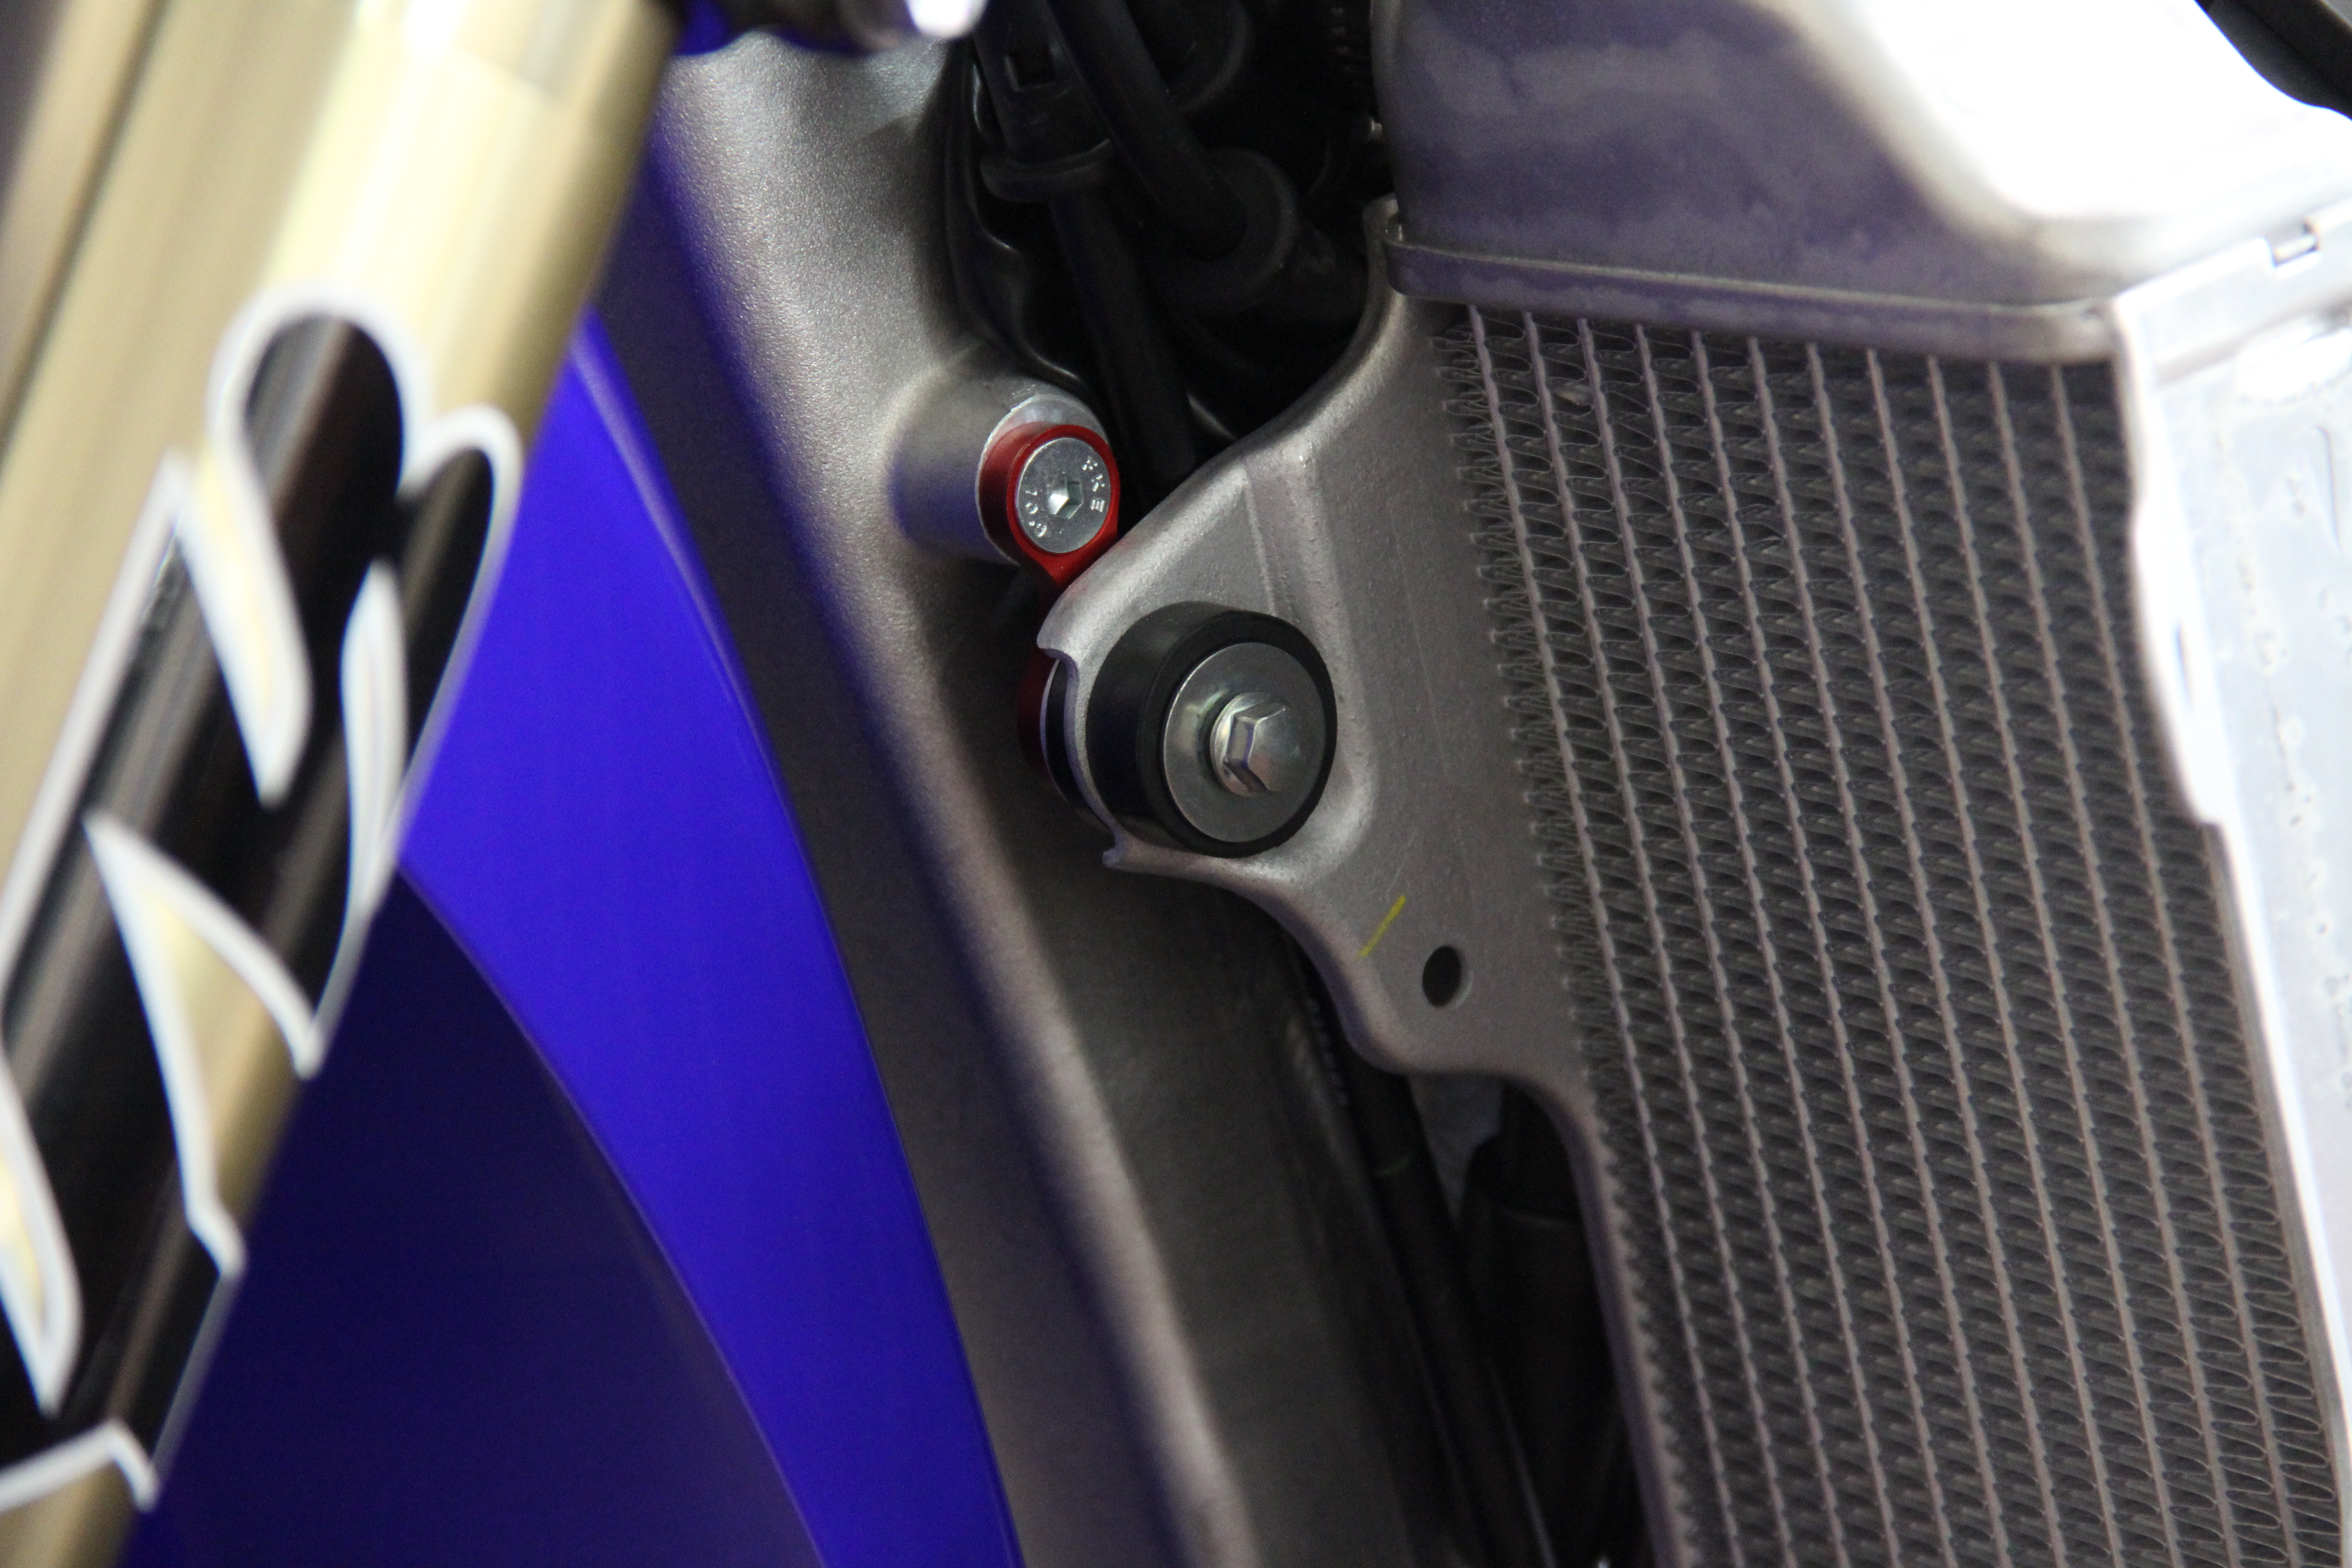
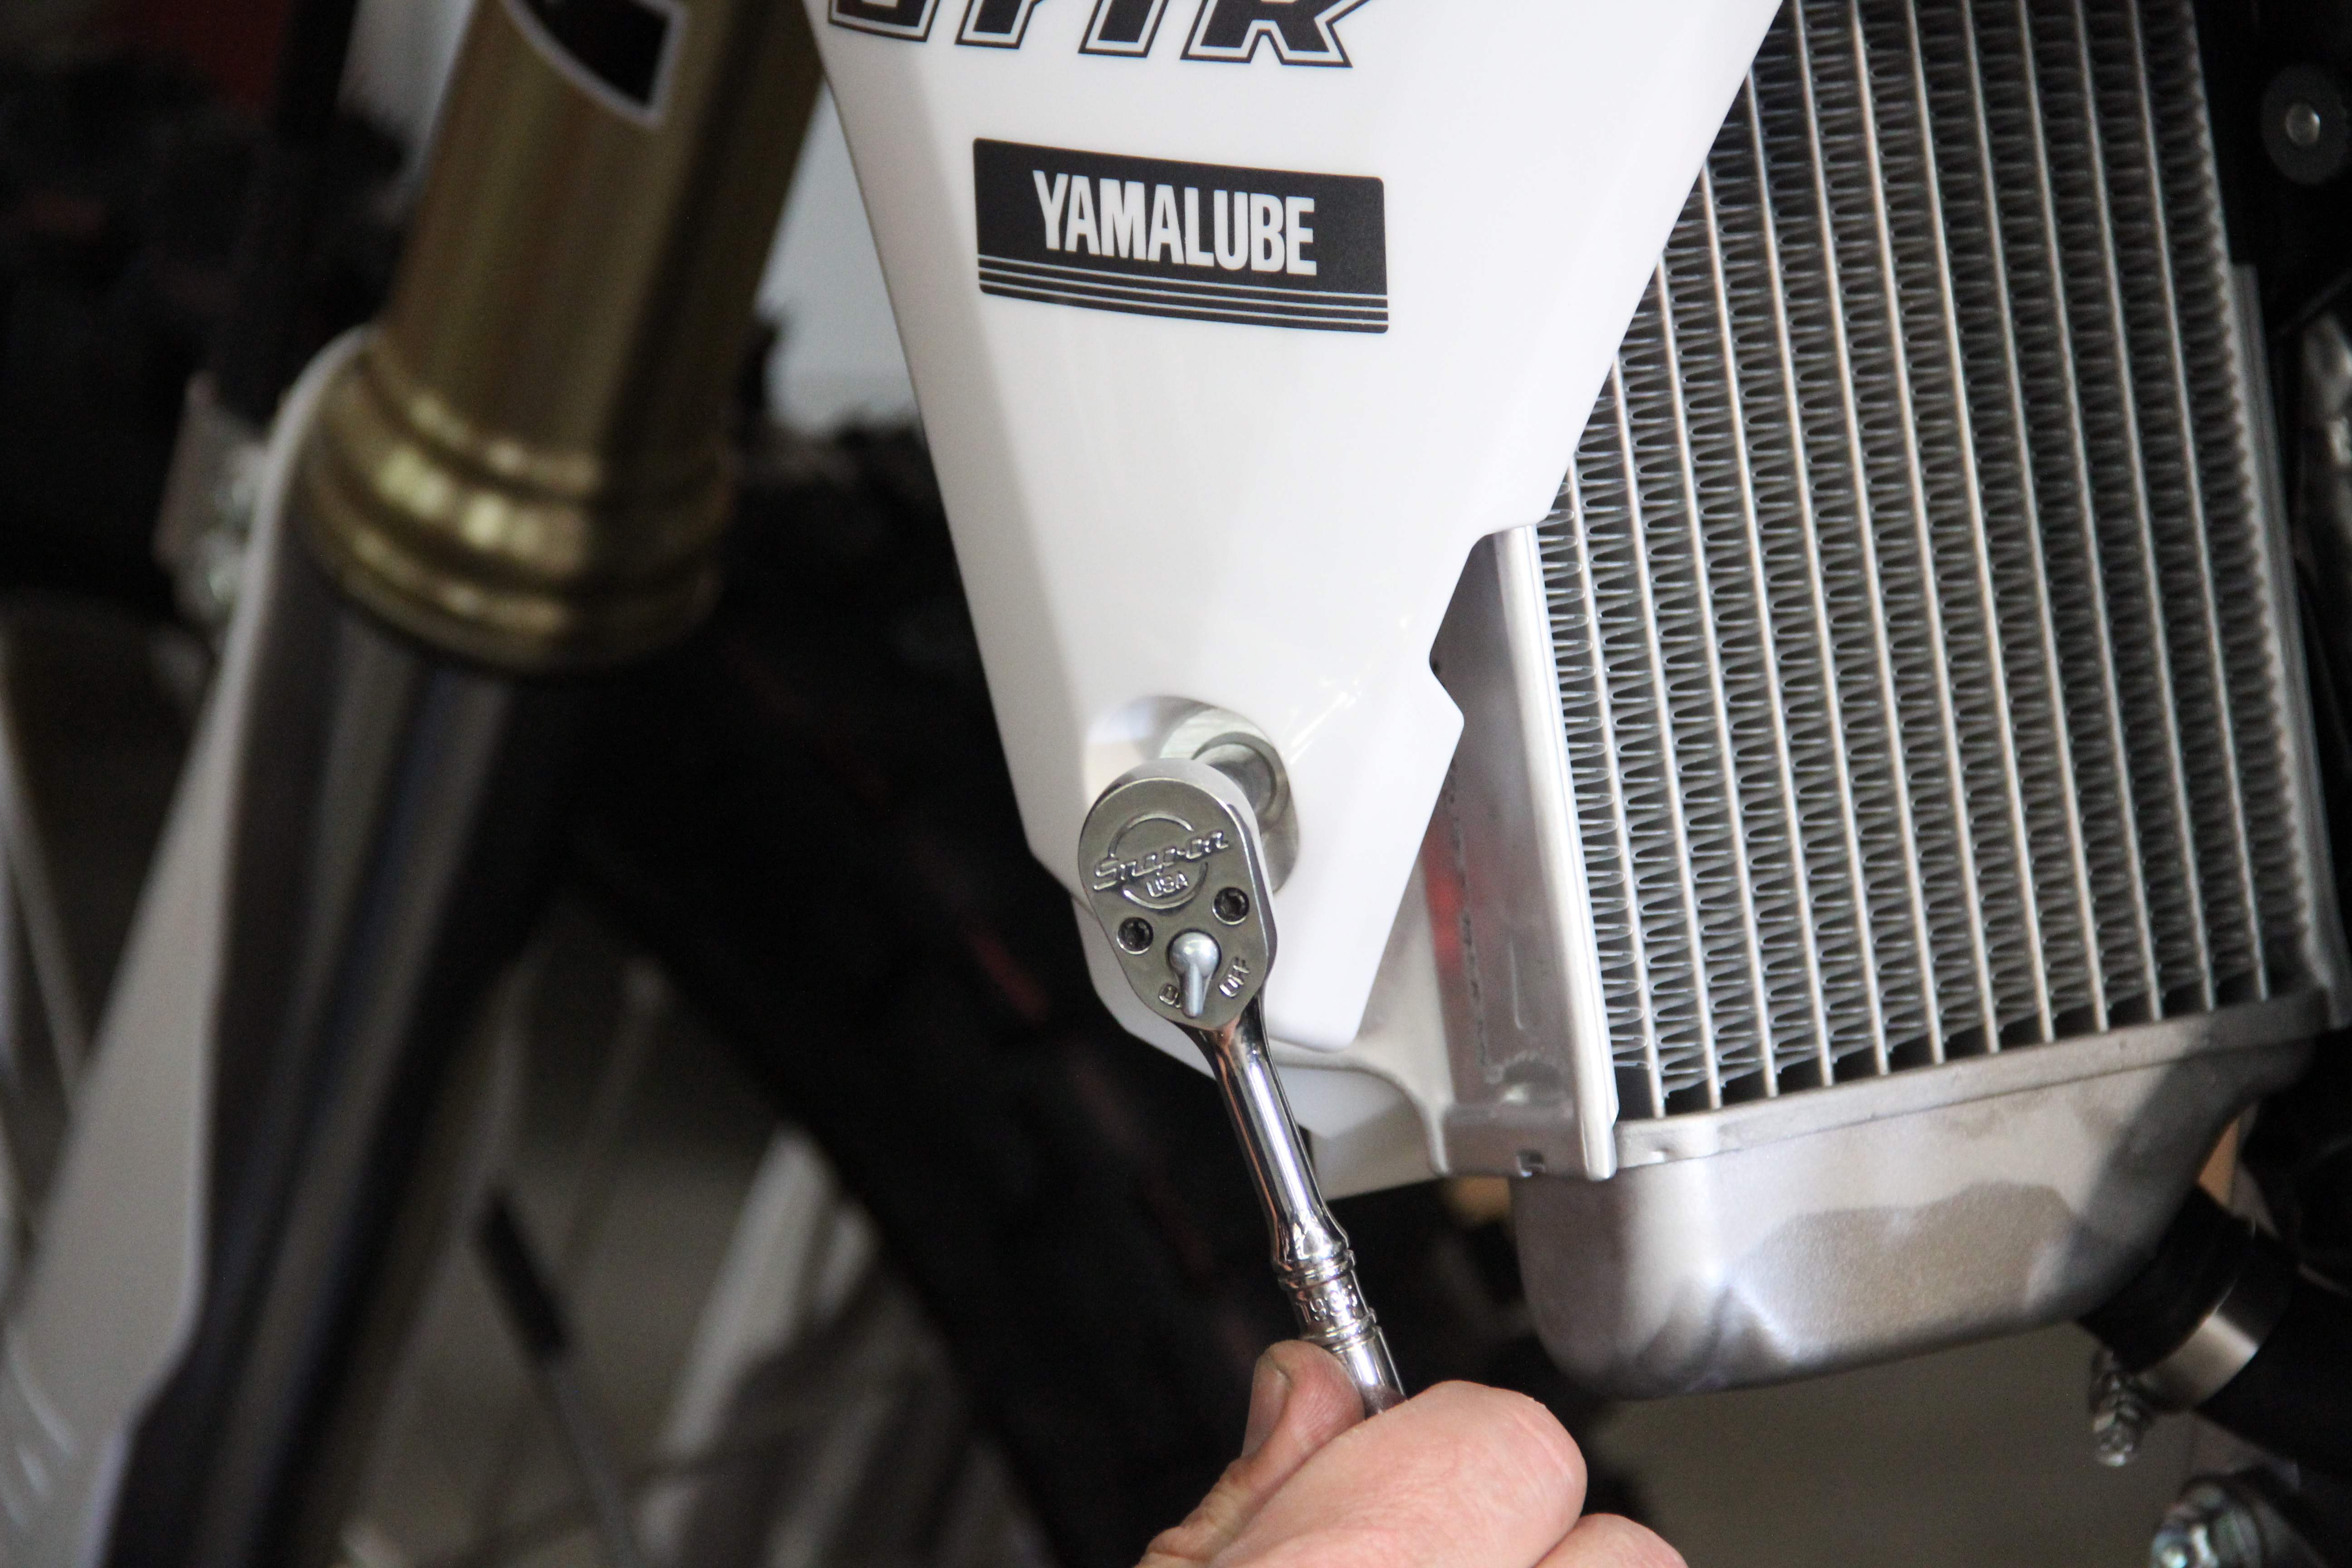
8. Link It Together

When it comes to installing the lowering links you can start on the left or right side. Remove the two fasteners that secure the radiator to the frame and slip the thicker lowering links between the radiator and frame (the thicker end of the link points towards the ground). Use the flat allen head fasteners to secure the top of the links to the frame.
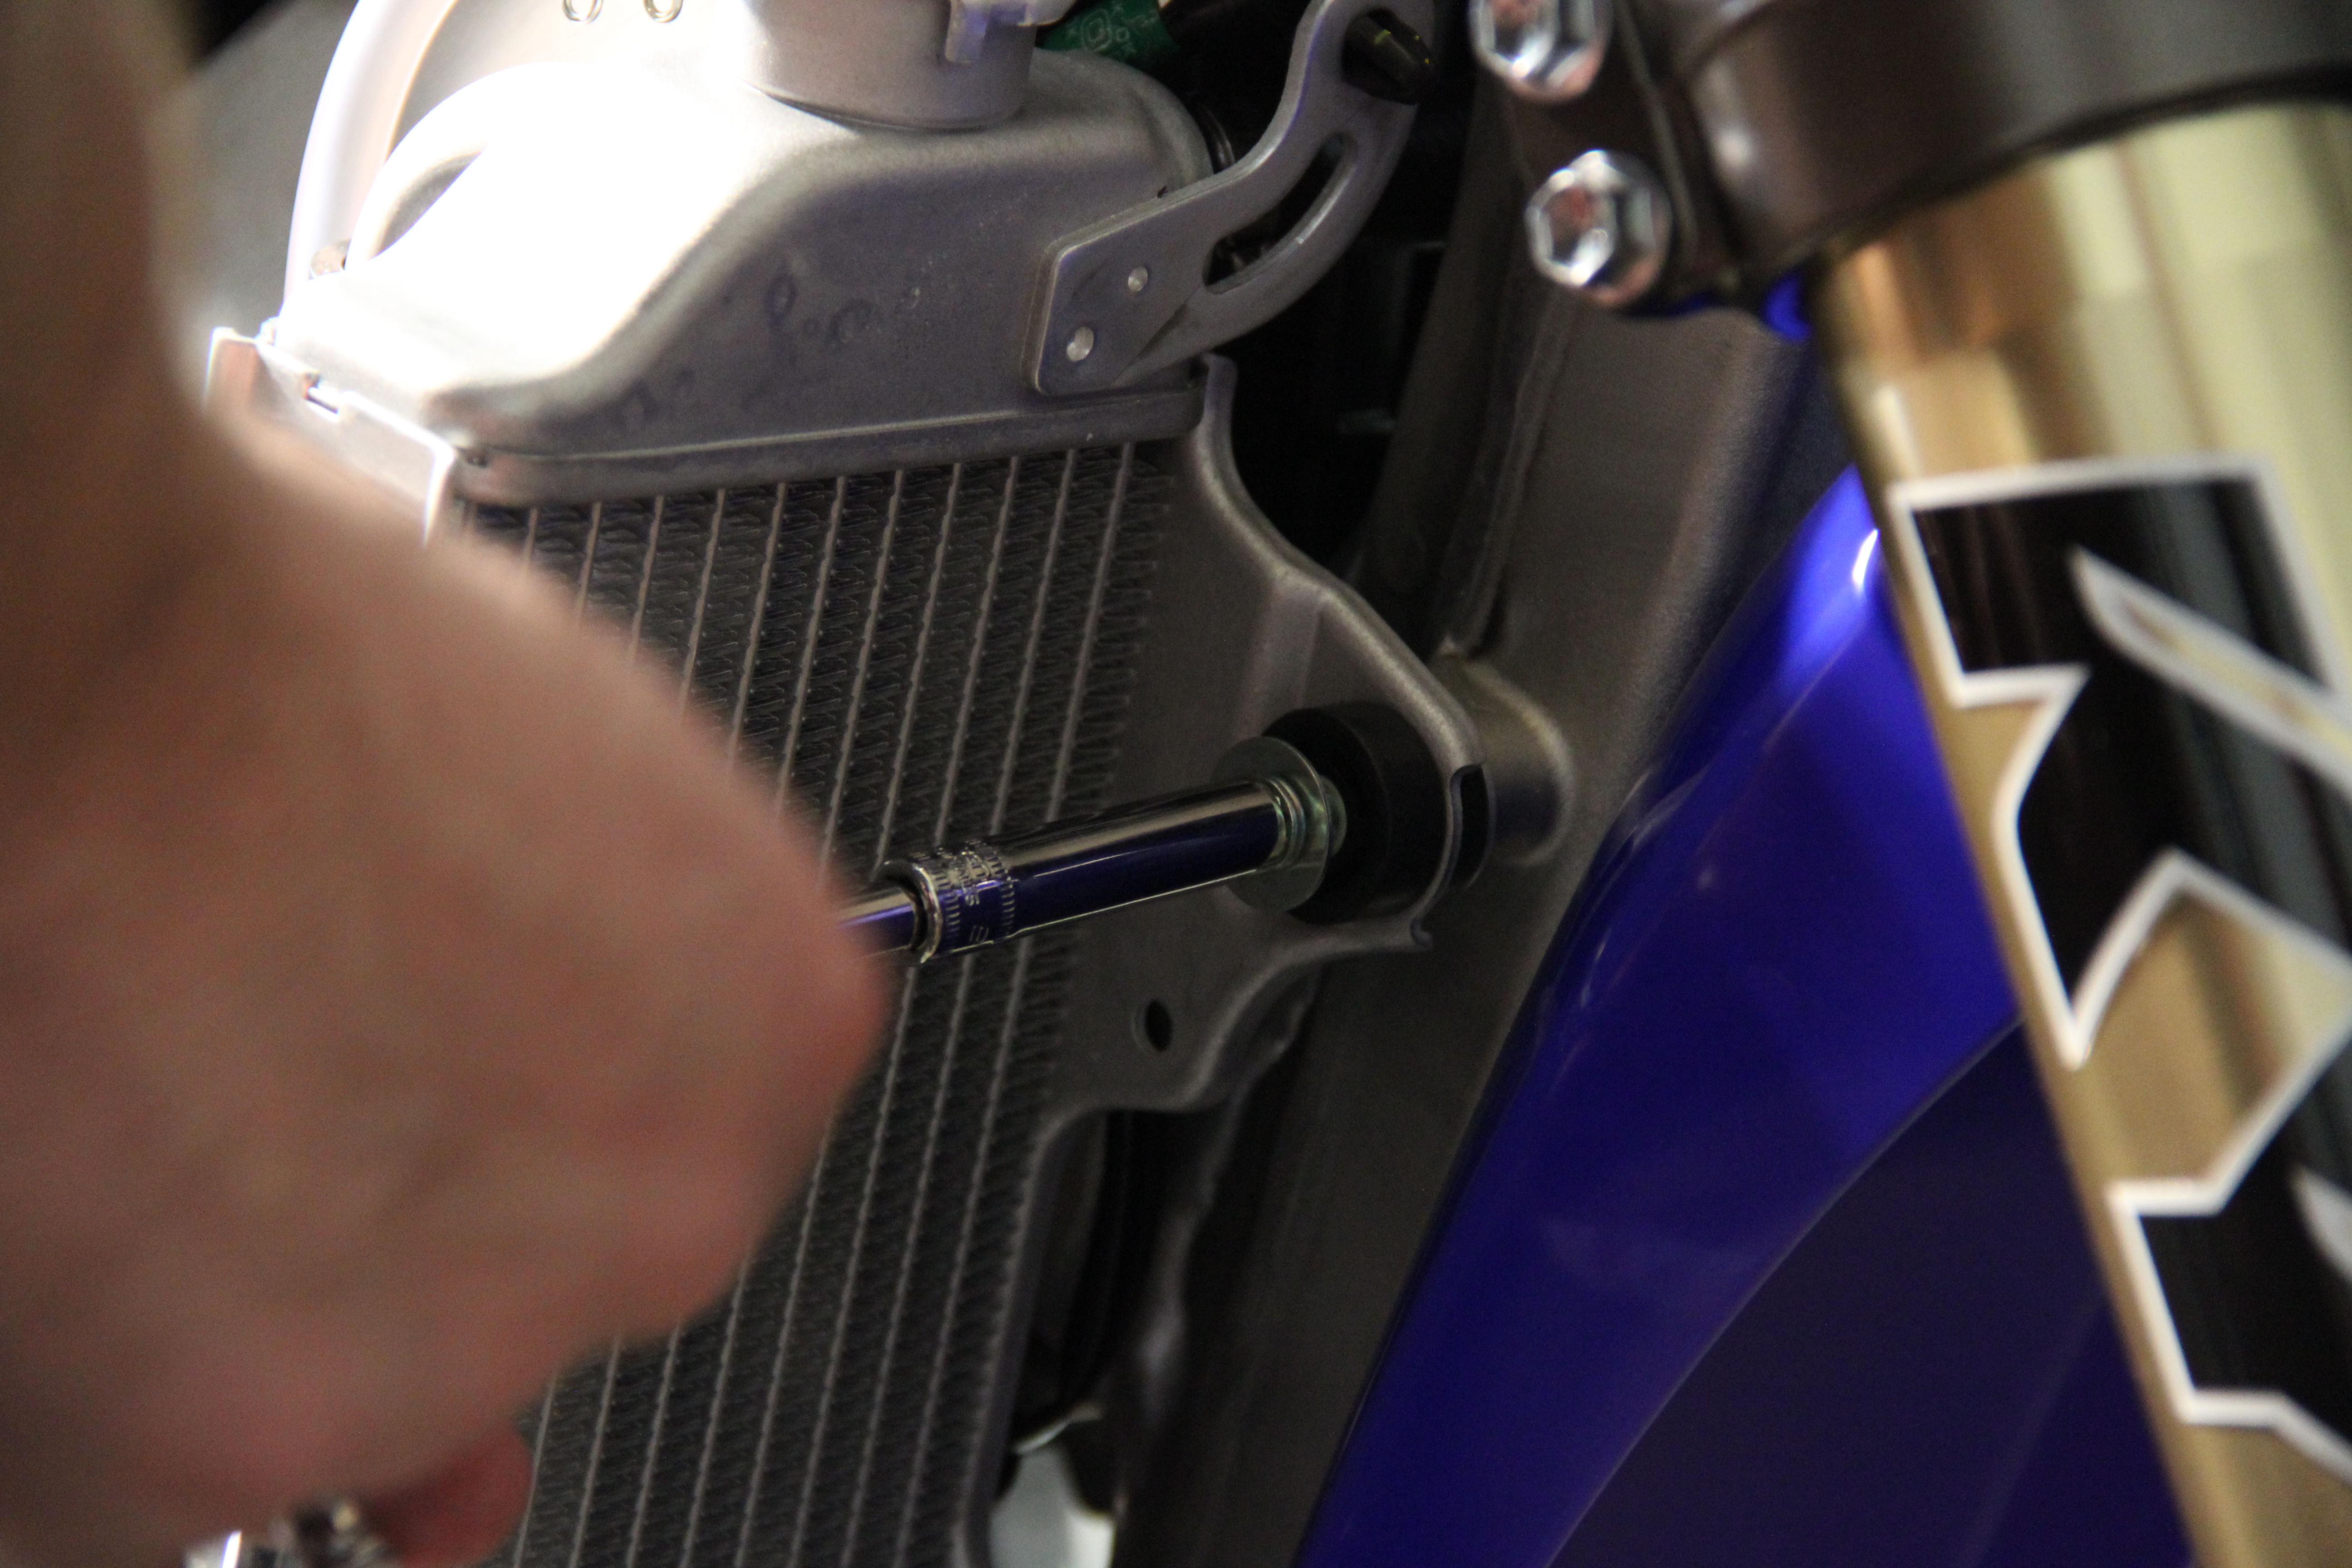
9. Back To Stock
Next, use the stock bolts to secure the radiator to the bottom of the lowering links.
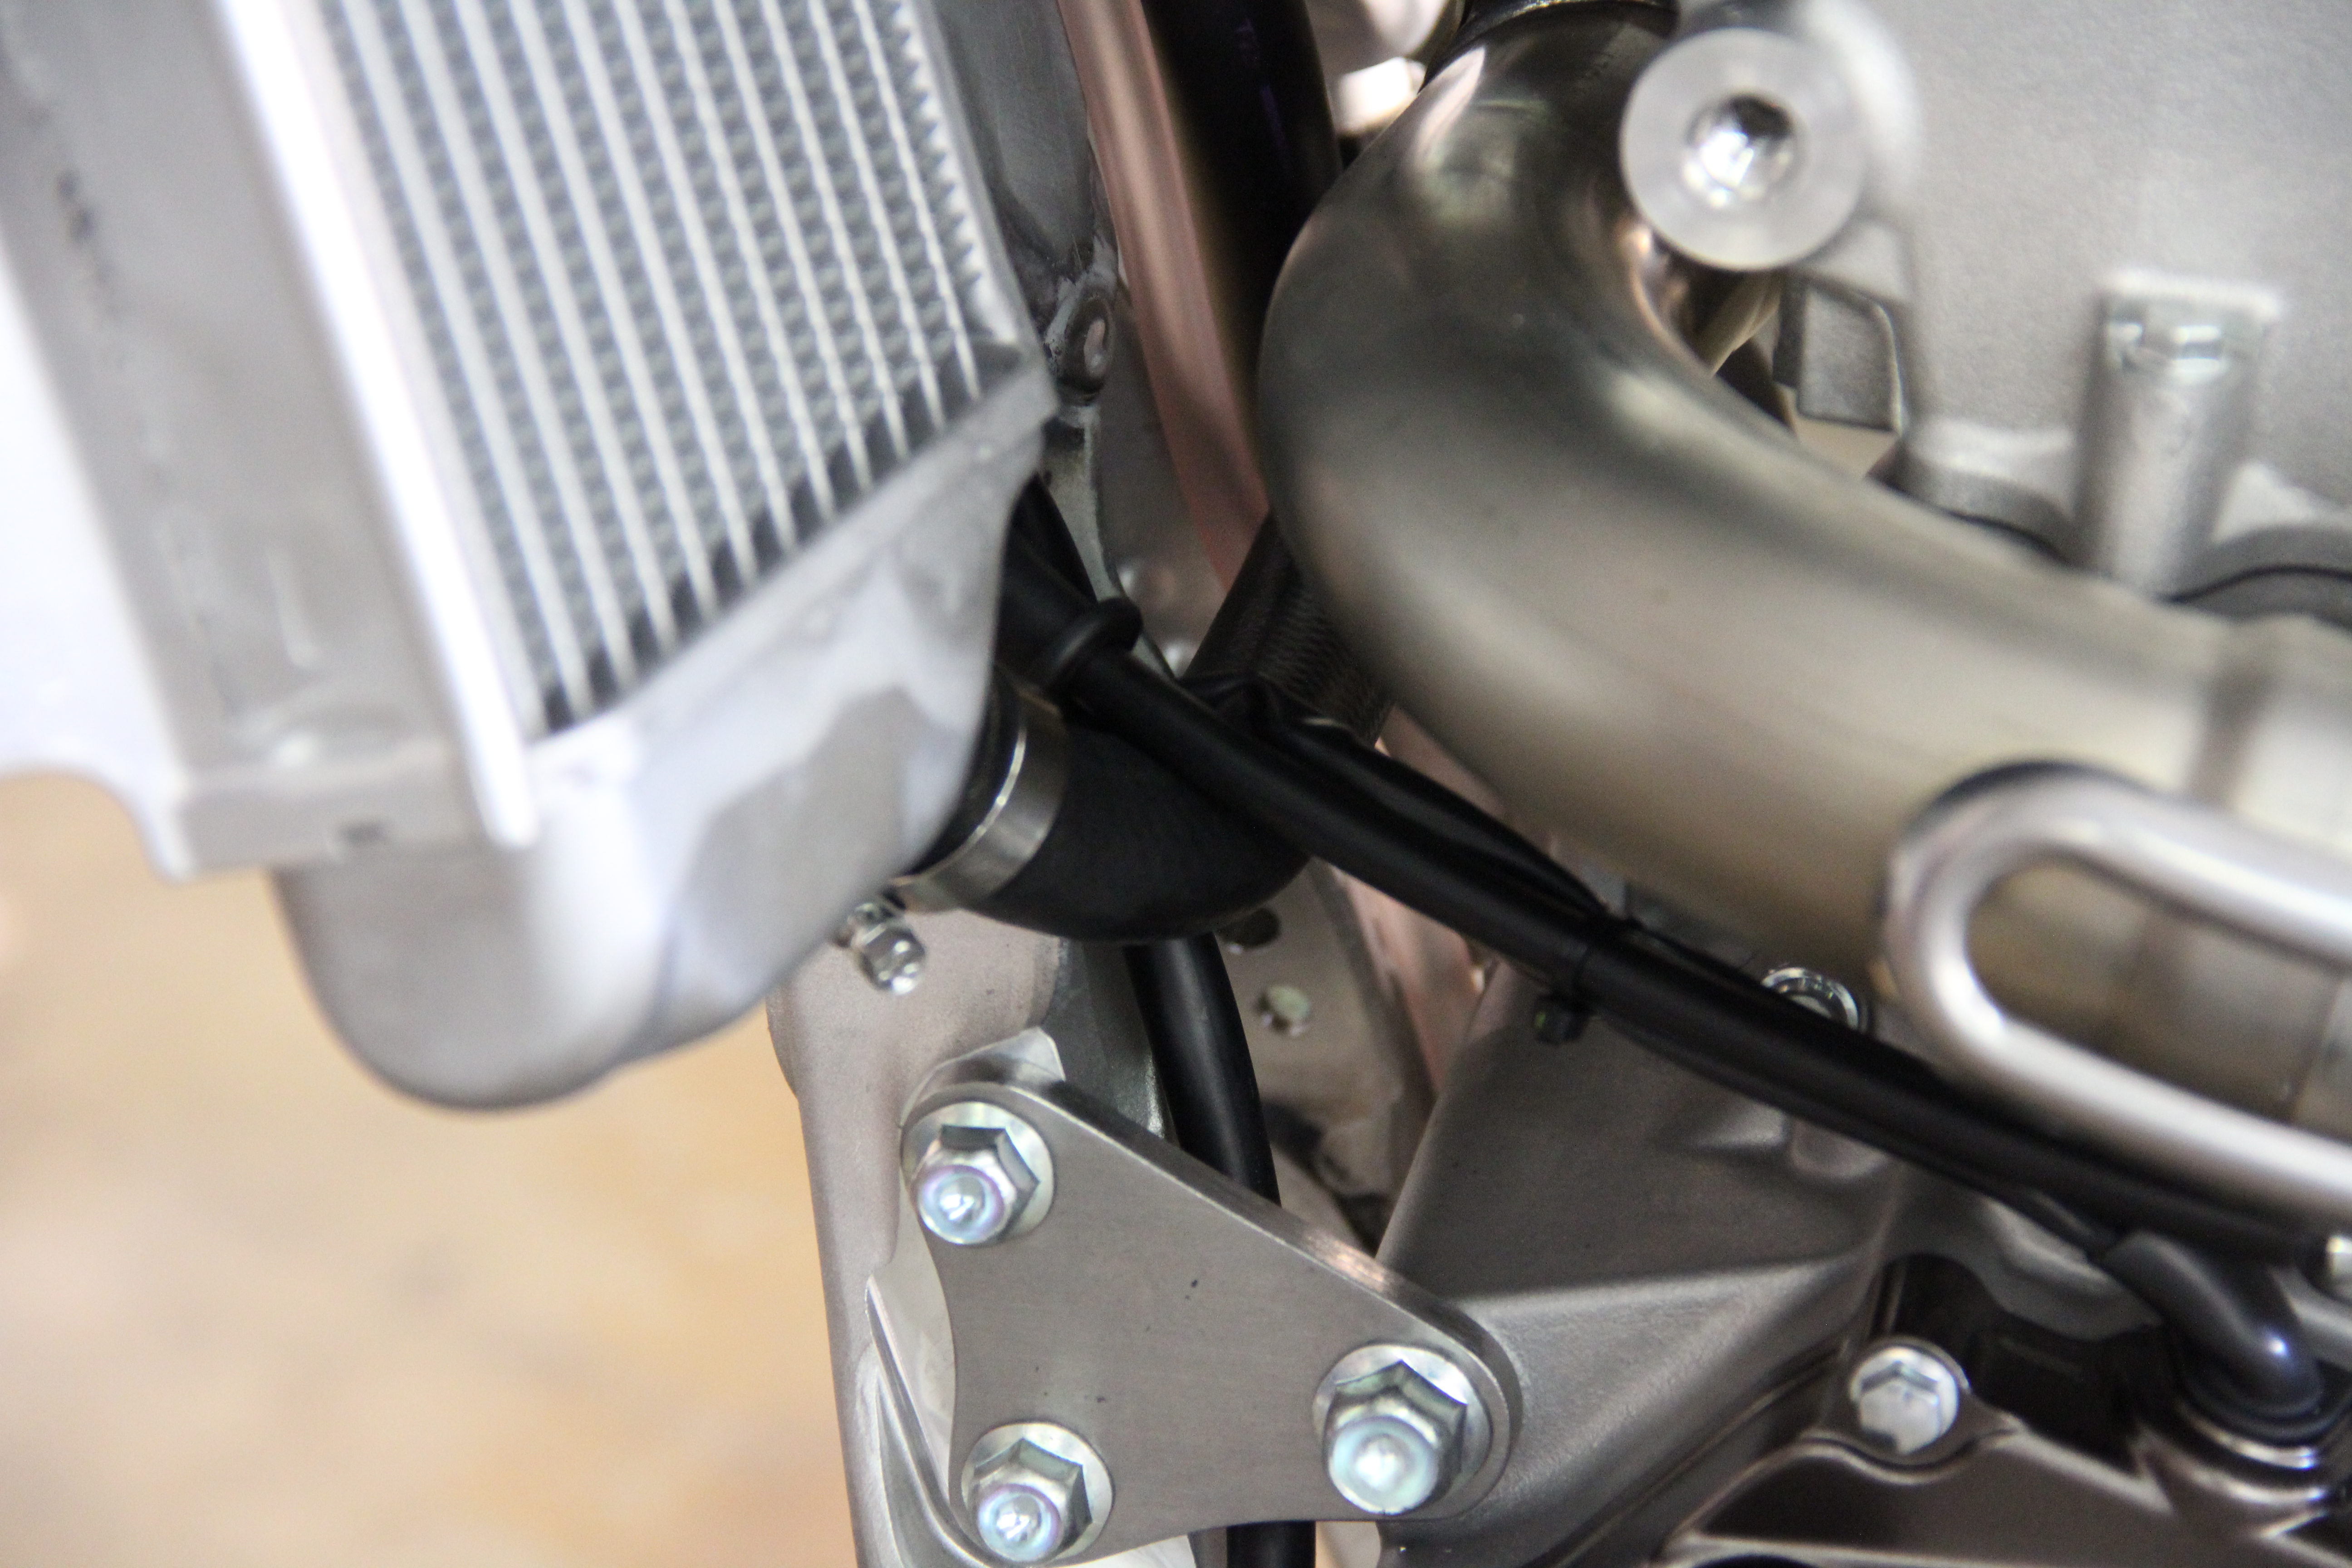
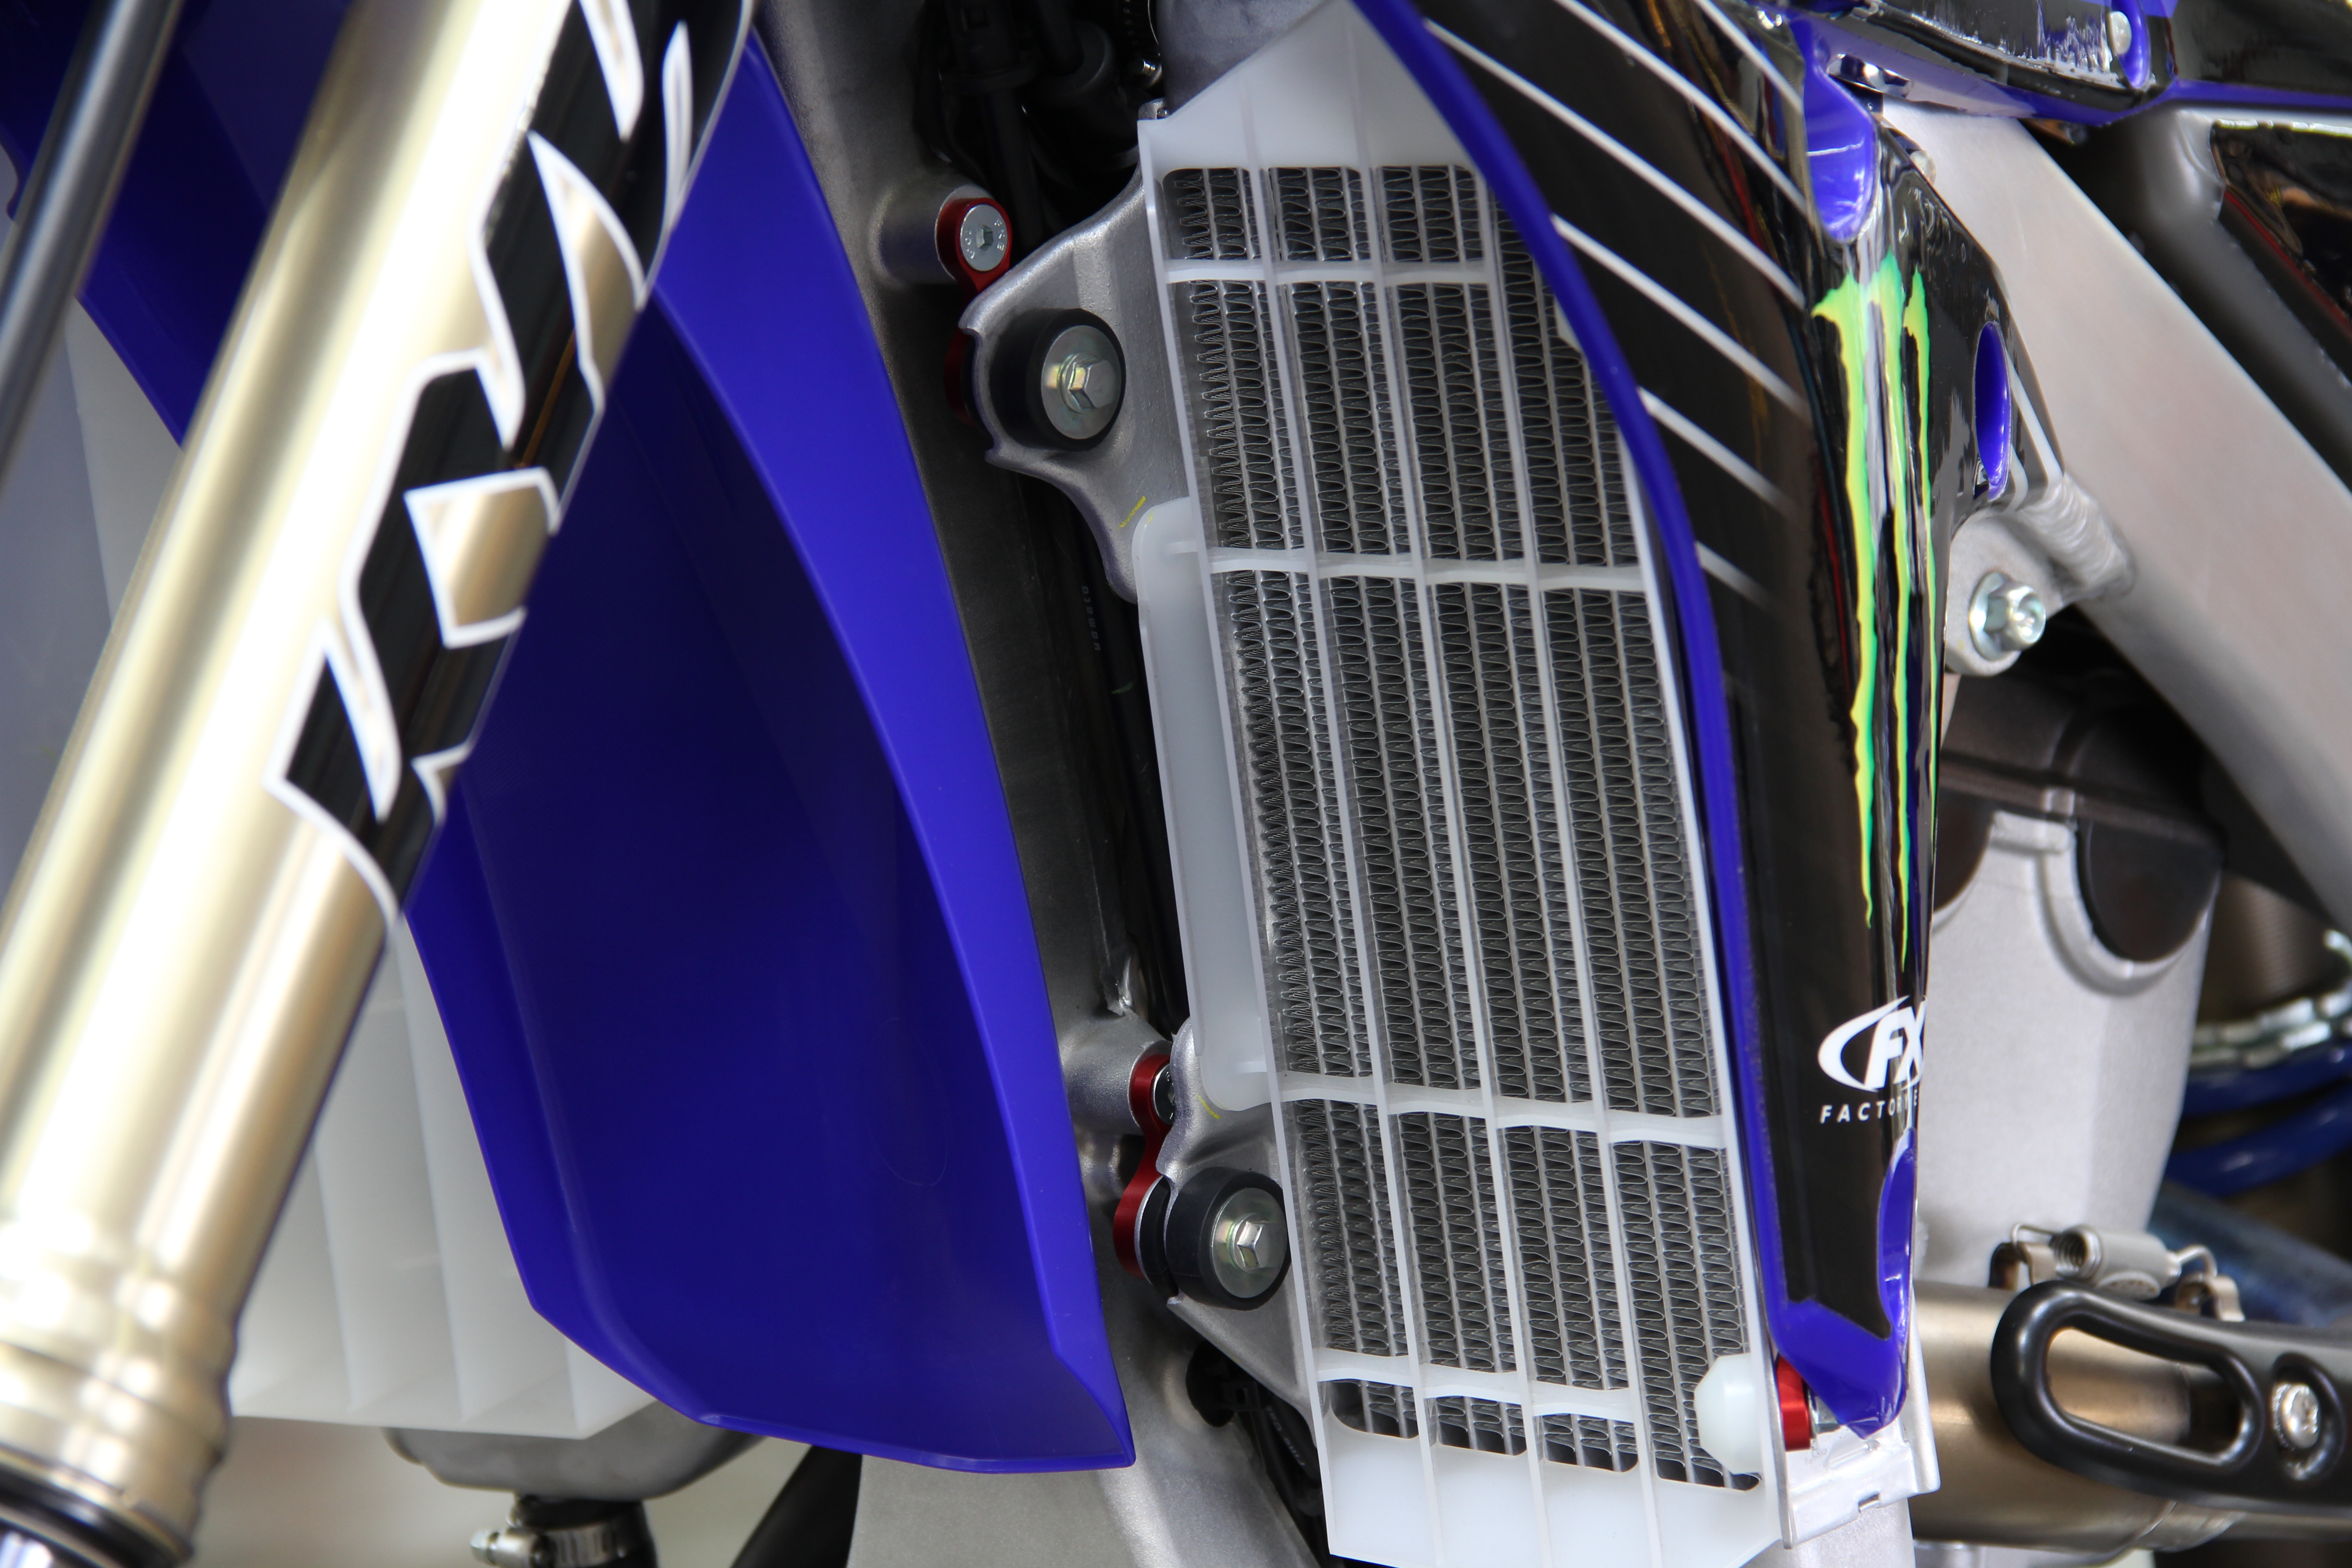
10. How Its Done

This picture gives you an idea of how the radiator mounts to the frame with the links installed and how the links drop the radiator down about 27mm from the original position.
11. Put It Back

Reinstall the radiator louver, and then replace the radiator cover/shroud using the rear mounting bolt to hold it in place.
12. Hold It Together

Use the supplied flange bolts to secure the bottom half of the thinner lowering links to the radiator.
13. Line It Up
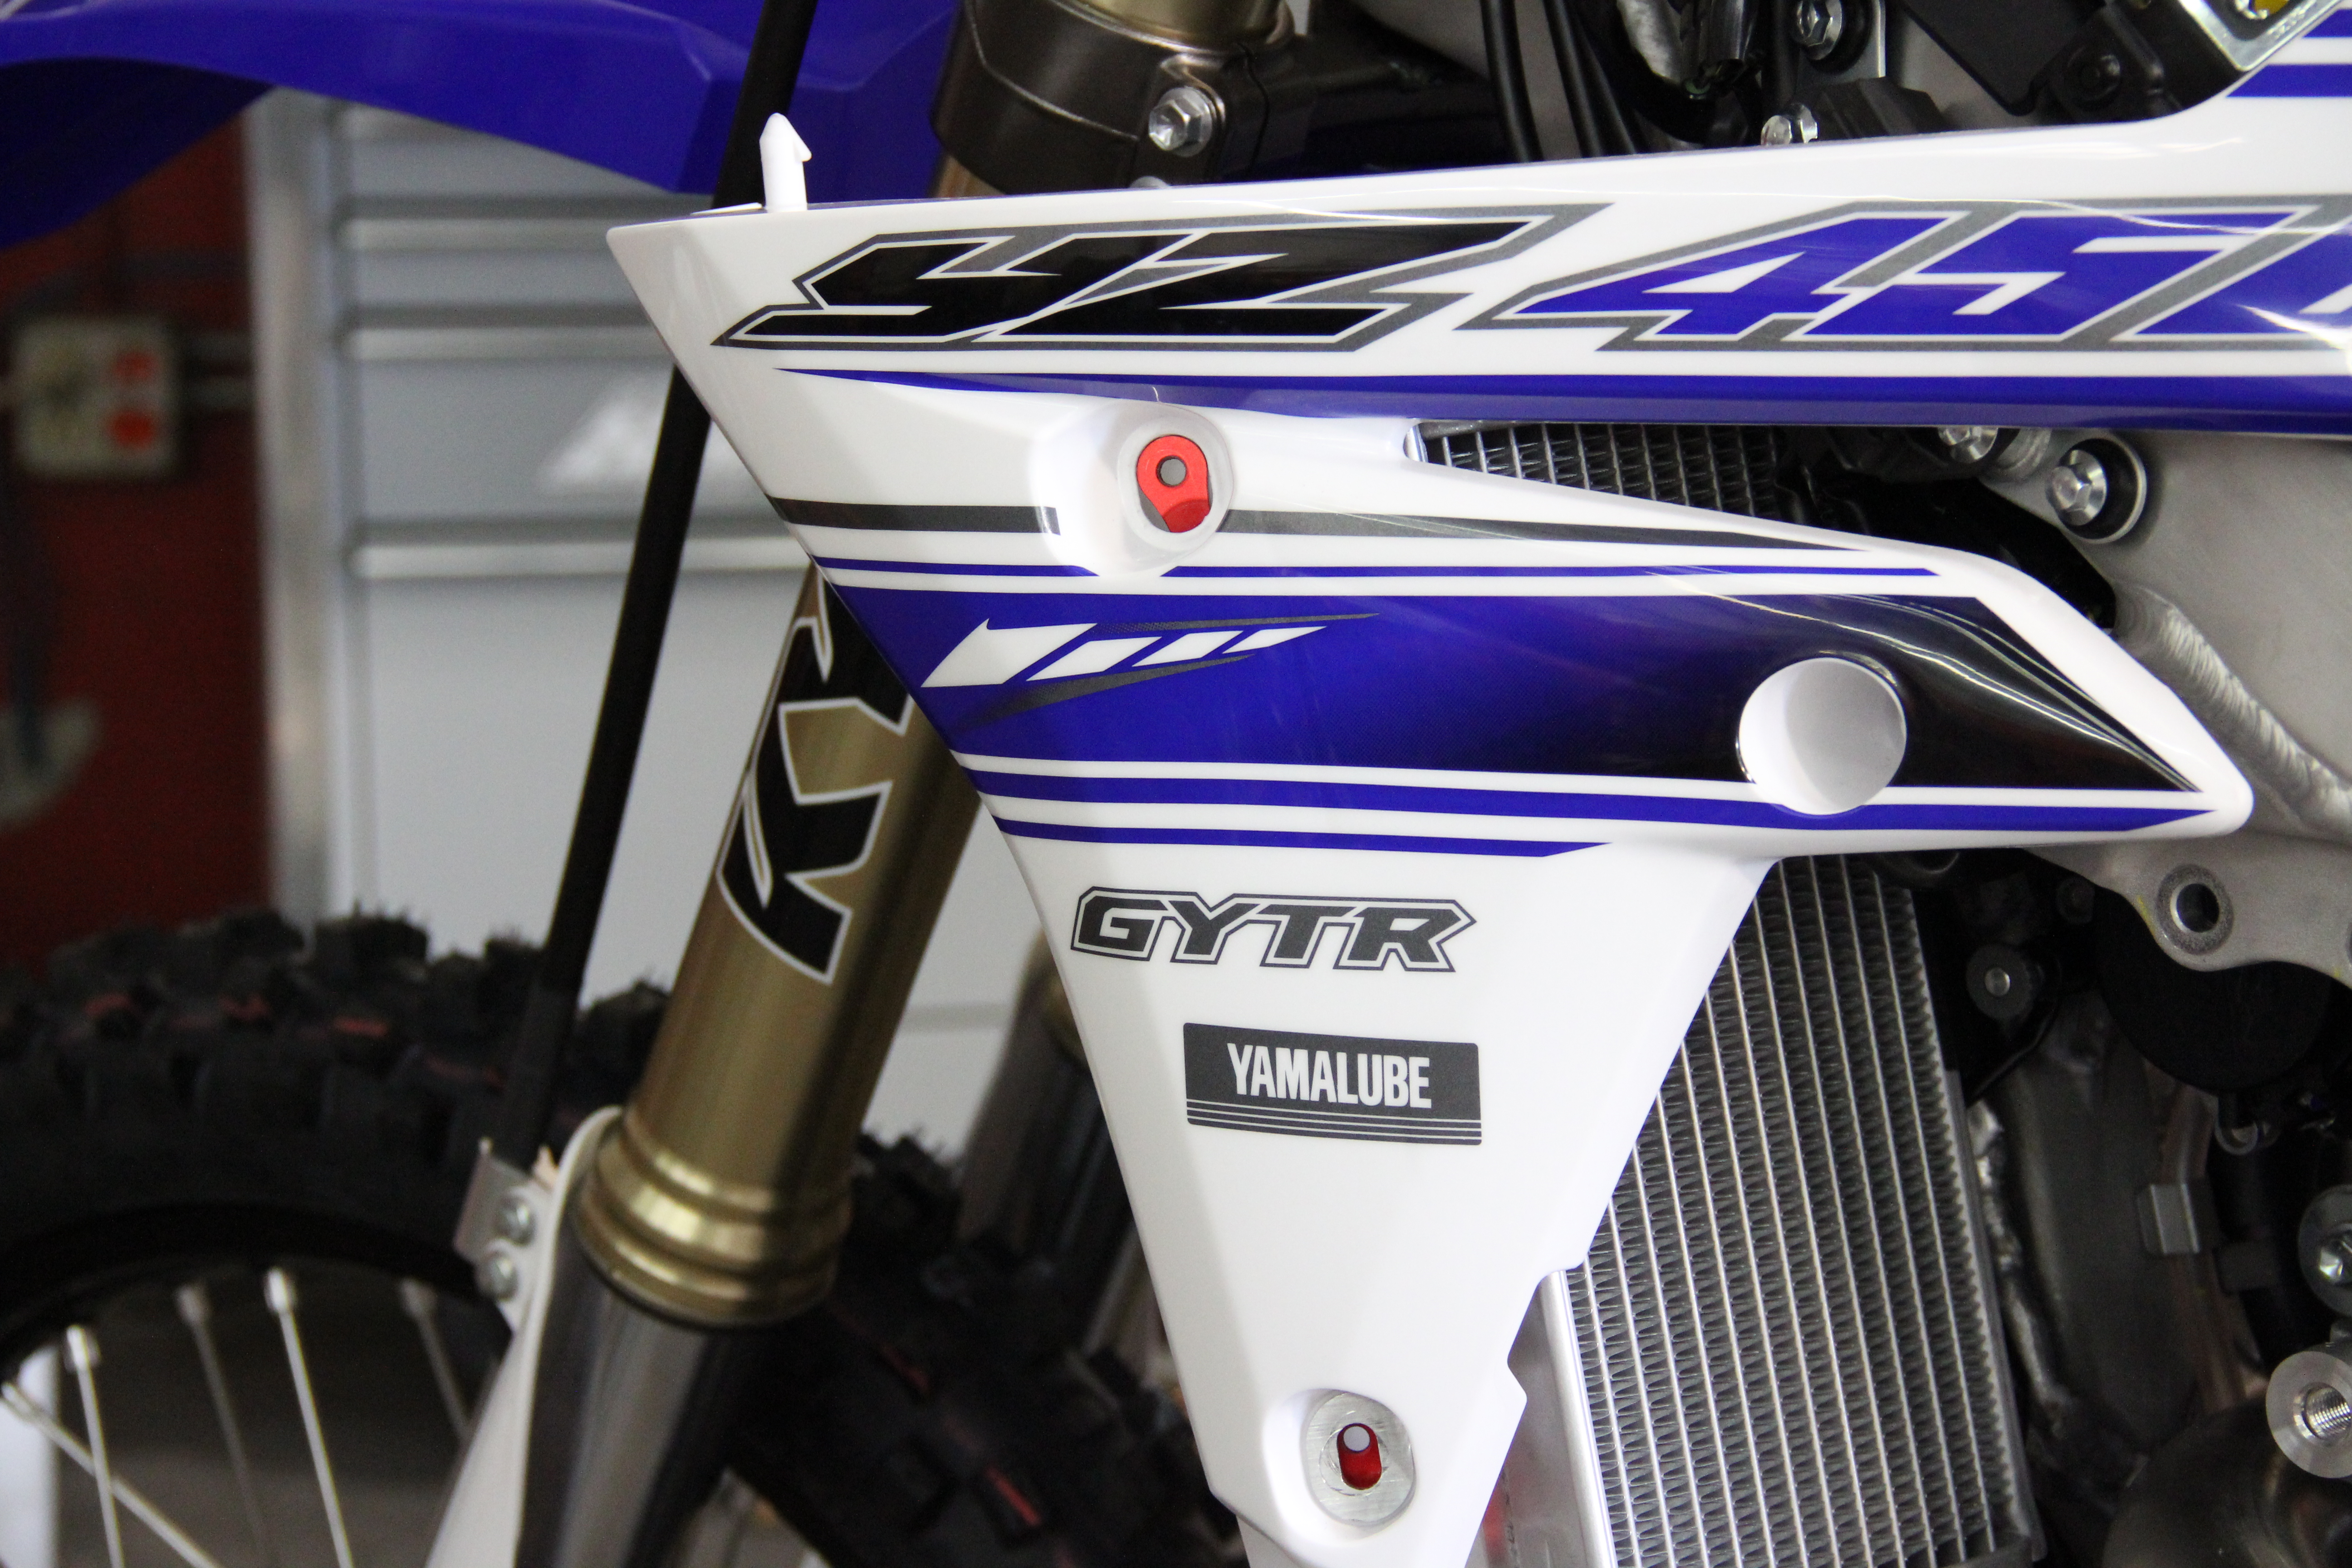
Next, line up the side cover/radiator shroud so that it meets up with the tops of the lowering links.
14. Cover it Up
Use the stock fasteners to secure the side cover/shroud to the Dr. D links.
15. Rinse and Repeat
Now repeat the process on the other side and be sure to double check that all your hoses are reinstalled, hose clamp are tight, everything is securely fastened, and that your bike has plenty of coolant.
16. Fin
The install should take about 15-20 minutes and only requires a few hand tools and maybe some new coolant. For a little more than $100 you'll notice the bike handles better with a lighter side-to-side feel and the ability to easily make changes or adjustments when in the corners.