
As a motorcyclist, if you didn't change your oil before the winter, it might be time to do so in early spring.
Just like a car, oil maintenance is an essential part to keep your motorcycle running smoothly. While a car's oil changing guide is every 3,000 miles or four months (whichever comes first), for a motorcycle it should be at least once a year - depending on the mileage you accrue.
Here are some easy tips to help you change your motorcycle's oil and avoid the motorcycle shop:
1) Get Your Needed Items
Changing your oil on your motorcycle is not as difficult as you may think. To ensure your process runs smoothly, you need to get all your maintenance supplies and other items together first.
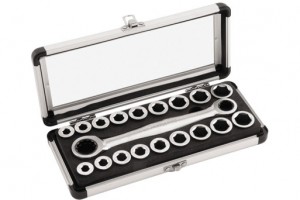
Changing the oil doesn't need a lot of tools or parts, but here are items you need: funnel, oil drain pan, socket kit, hammer, filter wrench, motorcycle oil and an oil filter. It might be smart to grab some extra towels or rags to keep your hands clean and to lay down some old newspaper or cardboard under your bike.
2) Remove The Drain Plug
 To get started, you first have to remove your old oil. To do this, you remove your drain plug under the motorcycle's belly (it looks like a standard bolt - check your owner's manual to ensure you're in the right spot).
However, every bike is different, so there might be some parts in different locations, so if you're unsure, contact professional assistance.
To remove the bolt, use your socket wrench and loosen the drain plug. For those who leave their rides outside, dirt and grime can built up, which could make the nut harder to loosen. Simply use a hammer and pound the stem of the socket wrench to free the bolt.
Make sure you slowly remove the bolt, as oil will immediately rush out. Ensure your oil pan is under the bolt hole and that you hold on to the bolt, so you don't loose it in the oil pan and force yourself to a scavenger hunt in old oil.
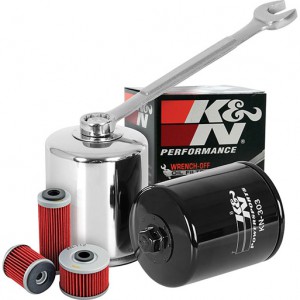
3) Remove Your Filter
 Once your bike is draining oil, take your filter wrench and remove your filter, which should be slightly above the drain plug. Also, ensure your oil pan is covering the area of the filter, as oil will run out as well. To get all the oil out of your bike, stand your bike upright. This will get all the excess oil to empty out.
If you have an oil filter magnet installed, make sure to save it aside for re-installation with the new filter. These handy accessories make your oil filters work better, trapping much more of the harmful deposits floating in your used oil. They last through several oil changes, but are easily replaced when they become too gunked up for their magnetic properties to be working properly.
4) Add New Filter And Recap Drain Plug
 After the oil is out, you'll want to reattach your drain plug and screw it back in to the base of your bike. Then you'll need to add your new oil filter, which easily screws on. However, you should dip your finger or a rag in oil and apply it to the rubber ring so your filter doesn't seize. A light coating around the filter's ring will be sufficient.
5) Add New Oil
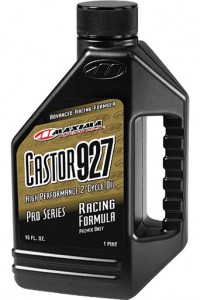
Once you're plugged up and with a new filter, you can start adding your oil. Make sure you know what type and how much your bike needs. Simply put the funnel in your oil tank and fill less than what your bike needs at first. Once you get in most of your oil, you'll lift your bike upright, and depending on whether you have an oil marker, you want to make sure you haven't added too much oil. If your oil marker is low, add more - if it's high, you've got plenty. Too much will cause serious problems, so always slowly add your oil and constantly check that it's not too much.
Once you've done this, you simply want to let your bike run for a few minutes to adjust to the new oil.